
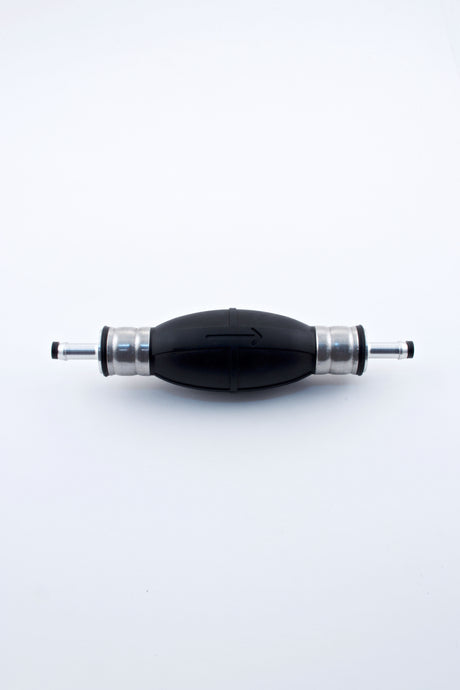
Yamaha
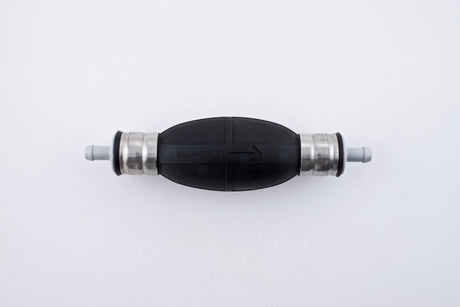
Yamaha 6YK-24360-73-00 - Fuel Primer Pump Bulb 8mm - 6YK-24360-72-00
$34.67 USD$37.90 USDUnit price /Unavailable
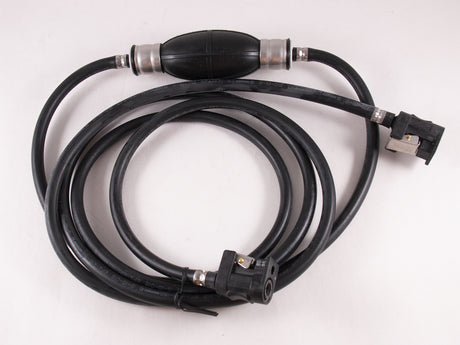
Yamaha
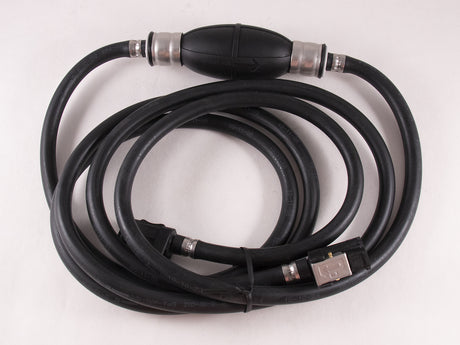
Yamaha 6YK-24306-64-00 - Fuel Line Assembly - 9.8' - 8mm Inner Diameter
$75.77 USD$81.20 USDUnit price /Unavailable-
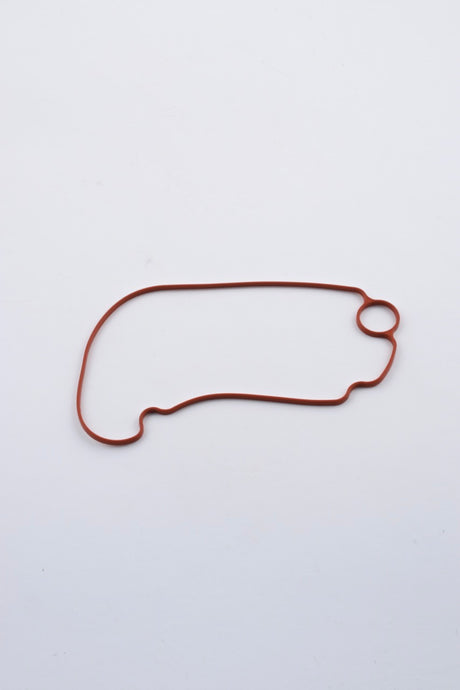
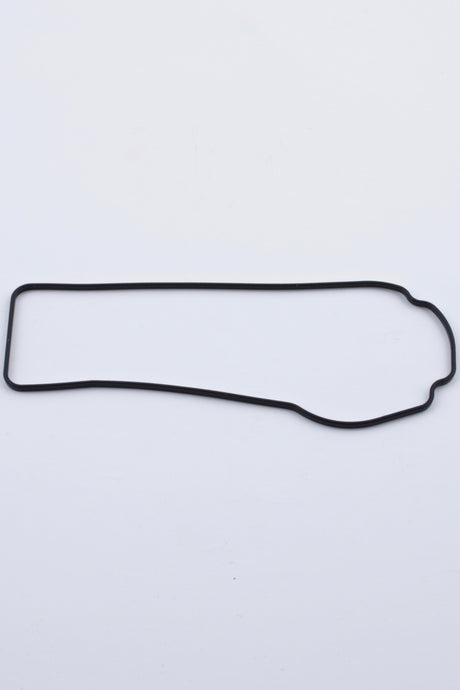
Yamaha
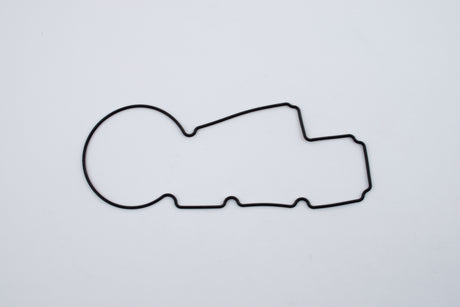
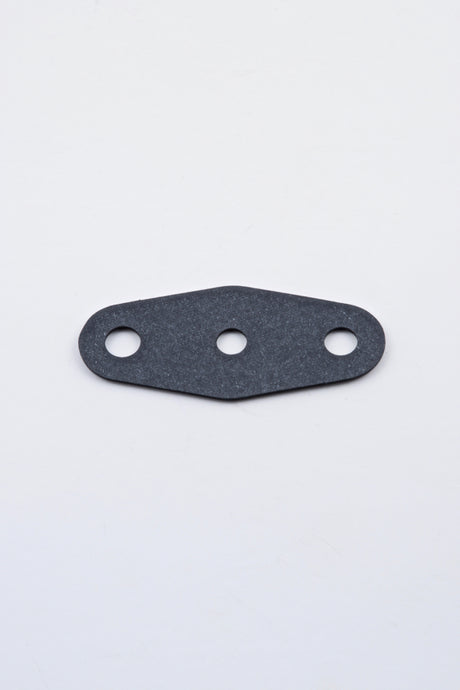
Yamaha 66K-14984-00-00 - VST Float Chamber Gasket
$29.69 USD$32.50 USDUnit price /Unavailable -
 Shop Now
Yamaha Spring Essentials

Yamaha
Yamaha 68V-14984-00-00 - VST Float Chamber Gasket
$21.81 USD$23.85 USDUnit price /Unavailable

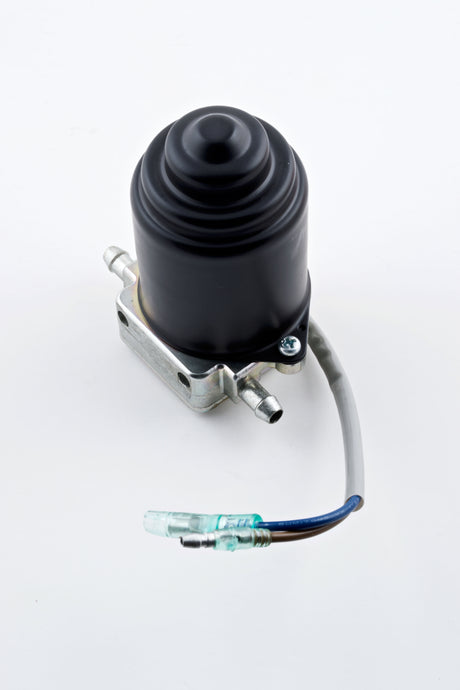
Yamaha
Yamaha 6E5-81900-01-00 - Oil Motor Feed Pump Assembly - 2-Stroke Remote Oil Tank
$203.63 USD$217.70 USDUnit price /Unavailable
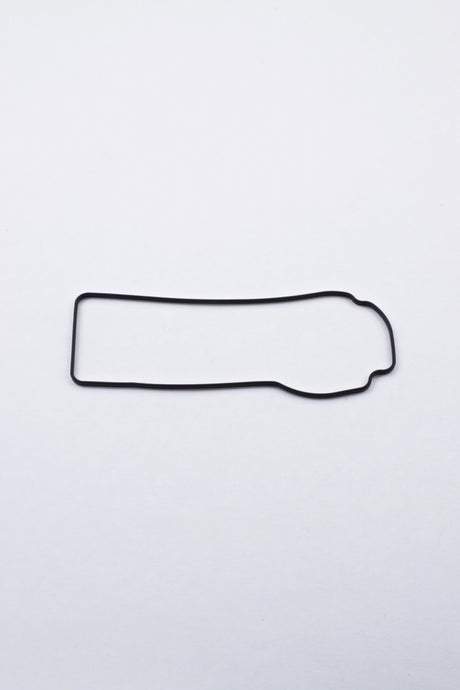
Yamaha
Yamaha 6CB-14984-00-00 - VST Float Chamber Gasket
$60.24 USD$65.95 USDUnit price /Unavailable-
-
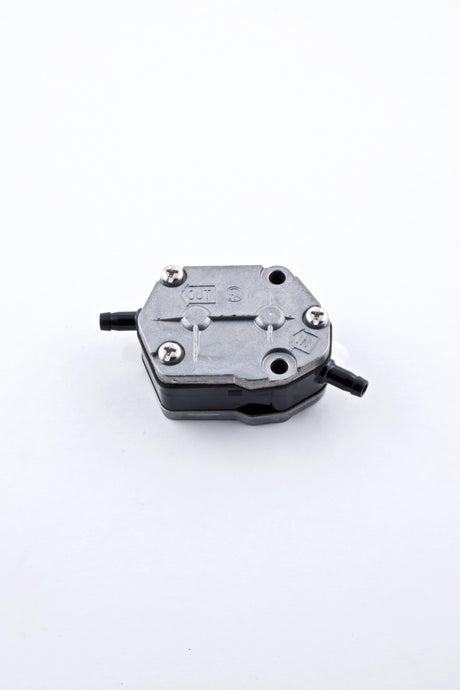
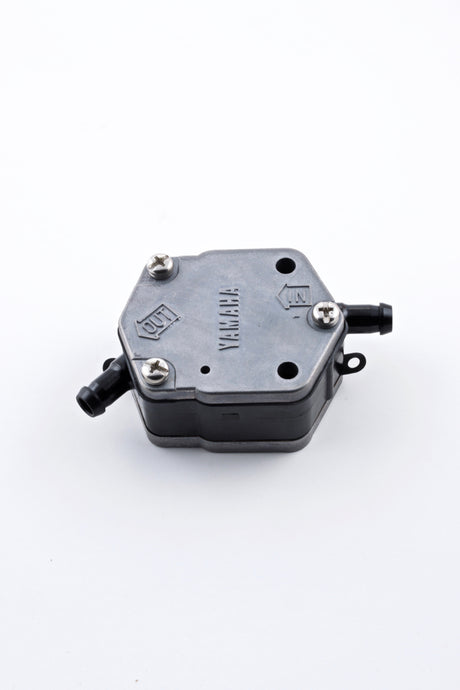
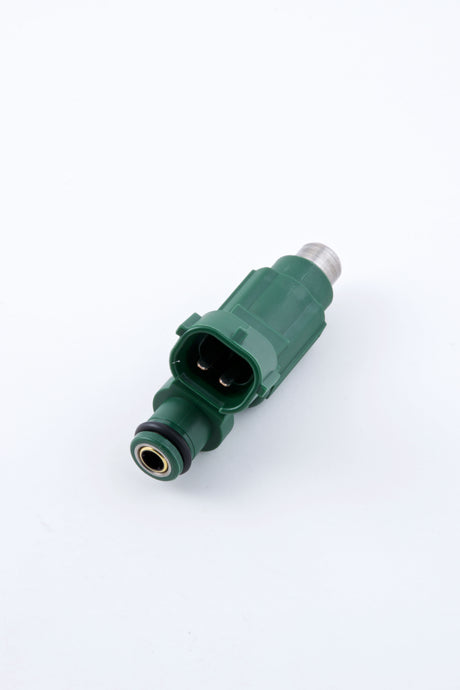
Yamaha
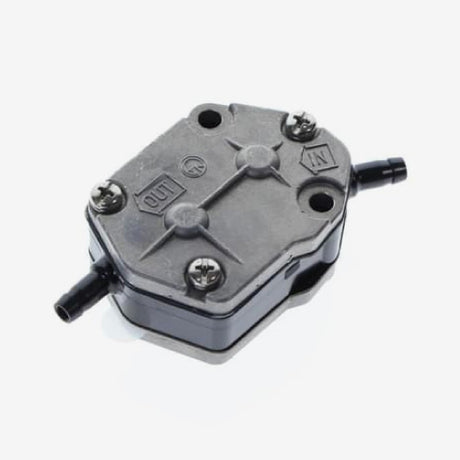
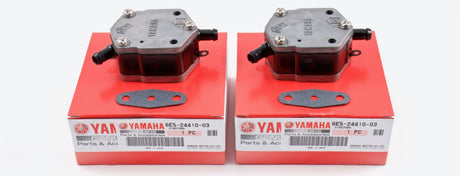
Yamaha 692-24410-00-00 - Fuel Pump Assembly 40 50 60 70 90 HP
$44.35 USD$48.45 USDUnit price /Unavailable -
Yamaha
Yamaha 6YL-24306-64-00 - Fuel Line Assembly - 9.5' - 6mm Inner Diameter
$76.05 USD$83.30 USDUnit price /Unavailable -
Yamaha
Yamaha 6AW-24360-01-00 - F250 F300 F350 - 8mm - Primer Pump Assembly
$41.17 USD$44.50 USDUnit price /Unavailable -
-
Yamaha
Yamaha 6P2-14984-00-00 - VST Float Chamber Gasket
$20.59 USD$22.50 USDUnit price /Unavailable -
-
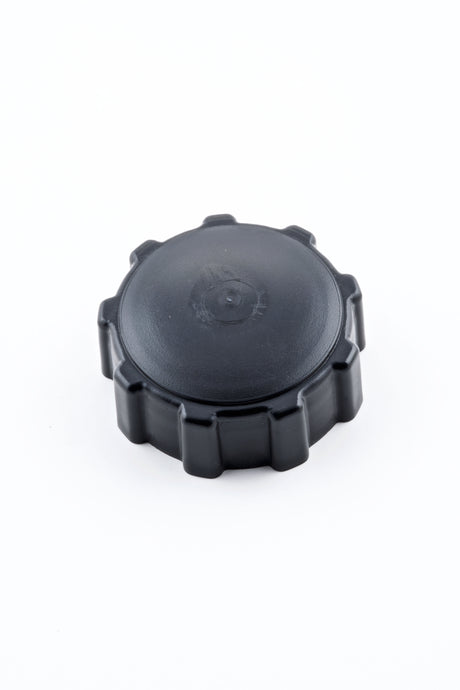
Yamaha
Yamaha 6E5-21770-03-00 - Oil Tank Cap Assembly
$39.00 USD$42.65 USDUnit price /Unavailable -
-
-
Yamaha
Yamaha 6C5-14984-00-00 - VST Float Chamber Gasket
$18.35 USD$20.10 USDUnit price /Unavailable -
-
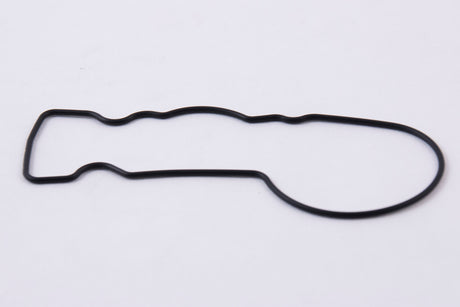
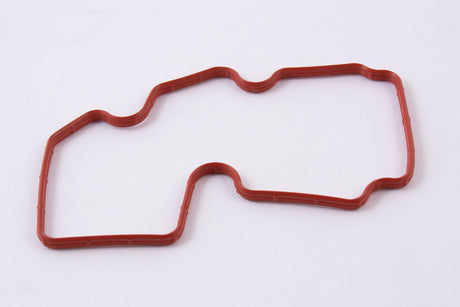
Yamaha
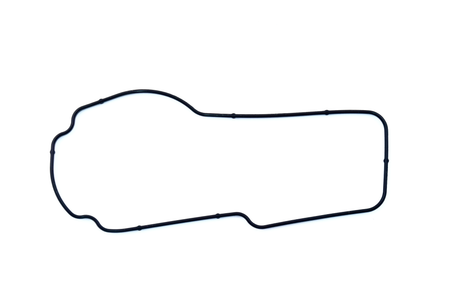
Yamaha 650-24431-A0-00 - Fuel Pump Gasket All 2-Stroke
$2.82 USD$3.05 USDUnit price /Unavailable -
-

Yamaha
$96.22 USDUnit price /Unavailable-
Yamaha
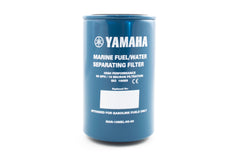
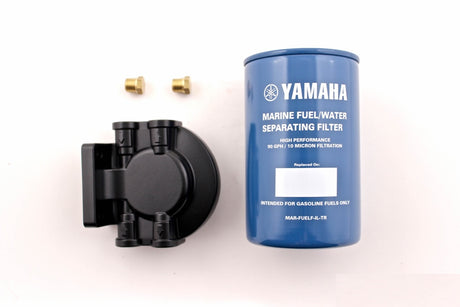
Yamaha MAR-SEPAR-AT-OR - 10 Micron Fuel Water Separating Filter Assembly Kit - With Housing
$58.14 USD$63.00 USDUnit price /Unavailable -
Yamaha
Yamaha MAR-10MAS-00-00 - 10 Micron Fuel Water Separating Filter Assembly Kit - 1/4" Aluminum
$58.14 USD$63.00 USDUnit price /Unavailable -
-
-
-
-
-

Yamaha
Yamaha 6E5-24305-06-00 - Fuel pipe joint comp. 2
$21.74 USD$23.80 USDUnit price /Unavailable-
-
-


Yamaha Fuel & Oil System Components
Visit YamahaOnlineParts.com to explore our wide array of certified Yamaha outboard engine parts, specifically created to fit the requirements of any Yamaha outboard motor. If you ever have queries about maintaining your outboard, you can likely find the answers in our blog.
If you need extra components or items to service your Yamaha OEM parts and accessories, take a look at our Yamaha marine fuel pumps or go through all of the Yamaha outboard parts that we offer.
We also regularly release new helpful resources like:
- Guide to Yamaha Outboard Fuel Filters
- Yamaha Ring Free Plus – Is It Essential?
- Will DIY Maintenance and Repairs Void Your Yamaha Outboard Warranty?
Yamaha Outboard Fuel & Oil System Components FAQs
How do I service my Yamaha outboard fuel system?
Keeping the fuel system of Yamaha equipment in good condition is a key part of 100-hour service. Depending on the kind of boat and the way it is used, there may be a fuel-water separator filter on board. If you cannot see it, just trace the fuel line from the engine till you get to the source. These filters can come in various shapes and brands, so be sure to obtain the same kind for replacement. Use a filter wrench to loosen the current filter element, taking care not to spill the fuel that is inside.
When discarding the filter, it is beneficial to have a transparent plastic or glass receptacle at the ready to inspect the contents. Tiny bits of debris, and a minor quantity of liquid are usually seen once the petrol has had a bit of time to settle. But if there is a great amount of water, additional research is necessary. If the filter’s mounting position allows it, filling the new filter with a bit of petrol prior to installation is a great idea, as it will make re-charging the fuel system more manageable later on. Also, it is sensible to apply a slight amount of grease to the o-ring before fitting it. Hand-tighten the filter only halfway and spin it on.
Go back to the engine and spot the filter element inside the clear plastic bowl at the front of your block. The cup-shaped device may be taken off with a special wrench made for it or by using regular tools and being careful. If necessary, disconnect the water-in-fuel sensor and unscrew the cup from the housing. Empty the contents into the clear container and check the fuel. If the main water separator was without water, this filter should be too. Have a look at the o-ring on the top of the filter cup and put a bit of grease on it to make it easier to install, or substitute it if necessary.
Change the existing filtration component with a brand-new one and put the cup back in place. Utilize the cup wrench to make it tight. Locate the primer bulb of your engine and employ the primer to pressurize the fuel system. You should witness gasoline go in and fill the filter cup. Check for any seepage and run the primer until the bulb turns firm. As an additional advice, primer bulbs perform optimally when the arrow is pointing upwards, so use any additional hose in the line to turn the bulb upright.
If you don't use Yamalube Ring Free on a consistent basis, the 100-hour service interval is an ideal time to give your fuel system a "shock treatment." Ring Free is both a fuel system conditioner and carbon deposit remover. The standard amount to use is 1 oz for every 10 gallons, but if it isn't used regularly, you can double that rate for a more effective cleanse. Simply pour the Ring Free into the fuel tank fill and hit the water - no further effort is required. It is suggested to check the o-ring of the fuel tank fill for damage when adding Ring Free because a damaged o-ring could allow water from rainfall or boat washing to enter the fuel system.
If you intend to leave your vessel in storage for a period of time after receiving service, it is strongly suggested that you use Yamaha's STOR-RITE Fogging Oil in generous amounts and Yamalube Fuel Stabilizer & Conditioner Plus.
How do I change my 4-stroke Yamaha outboard engine oil?
Before changing the oil, you should check the dipstick level by turning the engine on and taking off the cowling. Note if the cowling fasteners appear to be tight or gummy. Frequently, people tend to forget about the latches when they carry out maintenance, and they may become full of salt if you mostly take your boat out in saltwater. If you spot salt on the latches, this should be eliminated - you may need to use a salt removal product.
You can easily identify the dipstick and fill plug of Yamaha engines by their distinctive yellow color. If the oil level is too high on the dipstick, it could be due to overfilling during the last service or fuel contamination. It is also important to pay attention to the smell and color of the oil. Dark brown or black oil indicates dirt, while milky brown oil signals water contamination. A notable gasoline odor, on the other hand, could be caused by the engine not reaching proper operating temperature or improper break-in.
There are two ways to take out used engine oil from the motor. One is by using a vacuum extractor that is placed inside the dipstick tube and uses vacuum power to draw out the used oil from the pan. This way is usually quite tidy and is much preferred by boat experts. The other option is to remove the drain screw plug. For Yamaha four stroke models (from F15 to F150), the Seawell drain system can help to lessen the mess. For larger V6 engines, the plastic shields that cover the middle section of the engine must be taken out in order to access the drain screw. It is advisable to have a container that can take up to seven quarts of oil because some engines can hold that much. Additionally, it is recommended to put a petroleum absorbent pad to catch any drops and keep the driveway or grass clean.
What are the symptoms of a bad fuel pump on my Yamaha outboard motor?
If your Yamaha outboard engine isn't starting, try to listen for the sound of the fuel pump engaging. If it's silent, the battery may be the culprit. Consider troubleshooting other systems if you're encountering any other issues. However, if you can't hear the motorized sound, that's a good indication that the fuel pump is having problems.
If you're having bumpy rides or losing speed, it may be because of a clogged fuel filter that is preventing a steady flow. In this case, you should inspect the whole Yamaha fuel system to make sure that any clogs or blockages are addressed. We have detailed the Yamaha fuel system components that you should take a look at in our Yamaha troubleshooting guide. Sputtering or misfiring can also be a symptom of a faulty Yamaha fuel pump.
How do I perform a Yamaha fuel pump test?
To check a Yamaha fuel pump on an outboard motor, it is necessary to first inspect the rest of the fuel system for any damage or signs of wear. This includes squeezing the primer bulb to ensure there is a steady flow of fuel from the tank to the pump. Additionally, the Yamaha fuel filter, which is located near the pump, should be full.
- When the motor is off and the cowl lid has been taken off, detach the spark plug wire boot and take out the plug.
- Fasten the pressure gauge onto the spark plug hole. Subsequently, turn the throttle to its fullest extent and either tug the starting cord or rev the starter multiple times.
- The appropriate pressure for the fuel pump system (PSI) is contingent on the engine type. Generally speaking, having a PSI reading of less than 30 implies that there is a compression problem impeding the fuel pump from functioning. If the pressure is within the accepted range, this typically points to a malfunctioning fuel pump.
Common malfunctions in the fuel pump can be traced to the diaphragm and the one-way valves. To carry out an evaluation of these components, it is best to take the pump off of the motor.