Shop by engine


Yamaha
Yamaha 6CE-45300-15-8D - Lower unit assy
$4,568.27 USD$4,810.80 USDUnit price /Unavailable-
-
-
 Shop Now
Yamaha Spring Essentials
-
-
Yamaha
Yamaha 6D9-45300-14-8D - Lower Unit Assembly - F90 - F100
$2,046.61 USD$2,155.25 USDUnit price /Unavailable -
Yamaha
Yamaha 6CJ-45300-30-8D - Lower Unit Assembly - F70
$2,070.87 USD$2,180.80 USDUnit price /Unavailable -
-
-
-
-
-
Yamaha
Yamaha 63P-45300-15-8D - Lower Unit Assembly - F150
$3,139.41 USD$3,306.05 USDUnit price /Unavailable -
-
-
-
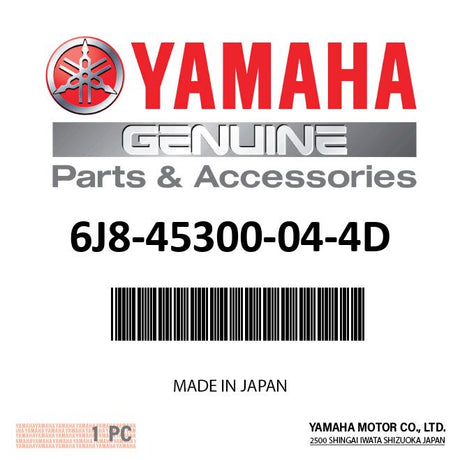
Yamaha
Yamaha 6J8-45300-04-4D - Lower Unit Assembly - 25 - 30
$1,374.87 USDUnit price /Unavailable -
Yamaha
Yamaha 6P5-45300-10-NA - Lower Unit Assembly - VZ200 - VZ225 - VZ250
$3,973.41 USD$4,184.35 USDUnit price /Unavailable -
-
-
-
Yamaha
Yamaha 6CF-45300-06-8D - Lower unit assembly - LF250 - LF225 - LF300
$4,841.09 USD$5,098.15 USDUnit price /Unavailable -
-
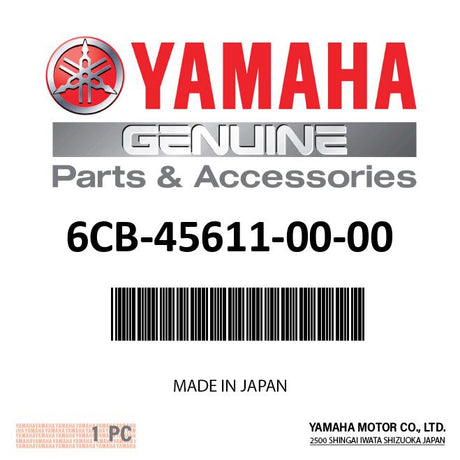
Yamaha
Yamaha 6CB-45300-03-NA - Lower Unit Assembly - VF200 - VF250
$4,439.64 USD$4,675.35 USDUnit price /Unavailable -
-
-
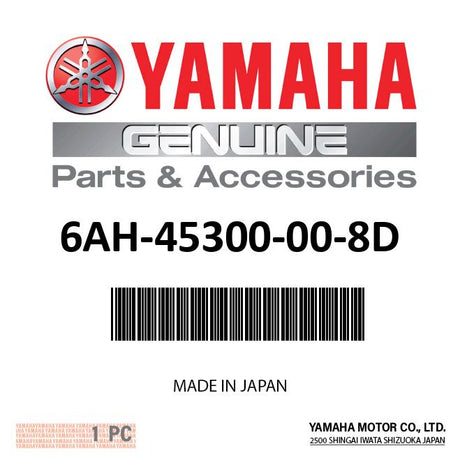
Yamaha
Yamaha 6AH-45300-00-8D - Lower Unit Assembly - F15 - F20
$1,553.33 USD$1,635.80 USDUnit price /Unavailable 
-
-
-
-
Yamaha
Yamaha 66K-45300-12-NA - Lower Unit Assembly - 200 - 225
$1,518.27 USDUnit price /Unavailable -
-
-
Yamaha
Yamaha 63P-45300-05-8D - Lower Unit Assembly - F150
$3,065.20 USD$3,227.95 USDUnit price /Unavailable -


Yamaha Lower Units
YamahaOnlineParts.com provides an extensive selection of verified Yamaha outboard motor components, including Yamaha Outboard Lower Unit assemblies, prop shafts, and various transmission pieces. To save on the expense of taking your vessel to a professional mechanic, you can select from our vast collection of
Yamaha OEM parts and accessories
and do the maintenance yourself.Having trouble finding the exact part you’re looking for? Check out our blog or our engine schematics.
Yamaha Outboard Lower Unit Assemblies, Prop Shafts, and Transmission Components FAQs
What is a Yamaha outboard lower unit assembly?
Generally referred to as a gearcase, the outboard lower unit assembly is responsible for converting the rotational energy generated by the outboard motor into the rotational energy required for the boat to move. This lower unit encompasses multiple vital parts without which the boat would be unable to traverse through the water.
How do I service my Yamaha 4-stroke outboard lower unit?
To drain Yamaha lower unit gear lube, start by taking out the lower drain screw. Next, undo the upper plug vent to let air in. For the majority of models, both plugs are easily visible on the lower unit. However, if the engine has a low water pickup, the forward pickup must be eliminated to gain access to the drain plug. Utilize a screwdriver with a matching size and, if needed, a wrench to loosen the screws, which may be quite stiff. An impact driver and hammer may be necessary depending on the last service provider. The drain plug has a magnetic tip, so look at the plug after taking it out to spot if there are hefty deposits. Some fine shavings are expected, but if there are chunks or a large amount of metal, further examination is required. Have a drain pan and some spare cloths nearby since the gear lube will begin running down the skeg once the upper vent plug is removed. Make sure to collect the fiber gaskets from both plugs after they are taken out since they cannot be reused and should be disposed of.
Let the engine stay with its tilt all the way down for a few minutes in order to completely empty out the old gear oil. Inspect the used gear oil to look for signs of water entering or any other impurities or metal particles. If you have bought one of YamahaOnlineParts.com’s lower unit oil change kits, it will already have new gaskets, oil, and a pump. Attach the pump to the draining hole of the lower unit and then to the quart of Yamalube gear oil or HD gear oil, based on the model you are using. Begin pumping the oil into the lower unit until it begins to flow from the vent plug at the top. After this, stop pumping and wait a few minutes for any air bubbles to get out of the gear case. Afterward, pump more oil until the clean gear oil coming out of the vent plug has no bubbles in it.
Begin by putting a brand-new fiber gasket in position and securely tightening the top vent plug. Unfasten the fill hose from the bottom drain plug and quickly exchange it with the lower drain plug; make sure to include a new gasket. Tighten it to the appropriate level and then reattach the lower water pickup screen, if necessary.
How do I lubricate my Yamaha outboard lower unit?
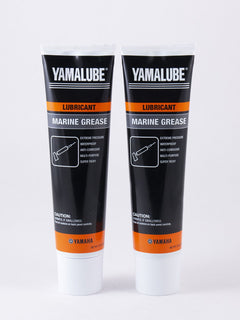
The machinery inside your lower unit is constantly in motion and the sole protection they have is the lower unit lubricant you choose. This product has the task of forming a thin layer between the metal components to keep them from making contact. As the gears put out a lot of pressure, the lubricant must have the capability of withstanding pressure, foaming, and shear. Also, the lower unit operates in water, so its lubricant should remain effective even if a substantial amount of water enters. Regular gear oil cannot meet these criteria, so you should never use car or tractor oil. The best option is Yamalube Marine Gearcase Lube which can take on all these responsibilities, even if there is 10% water present. If you have a V MAX SHO, 4.2L V6 Offshore, or 5.3L F350 V8 outboard lower unit, there is an HD formula tailored to your needs.
How do I perform a visual check on my Yamaha outboard lower unit?
Before heading out, it is important to take a look at the outside of the lower unit to identify any damage. Especially if you do a lot of fishing, it is recommended to take off the propeller about every fifty hours or whenever needed and check for any fishing line or other debris that may be stuck around the shaft, which can damage the seals. If this is the case, inspect the prop seals for any issues. Additionally, it is essential to check the color of the lubricant by unscrewing the "drain screw" from the bottom of the bullet and the "vent screw" from the side of the lower unit, allowing a bit of it to be collected in a clean container.
If you notice the lubricant has a milky tinge to it, it is a sign that there is water in it. A Yamaha Marine dealer should then carry out a pressure test to assess the lower unit seals and, if needed, replace them. It is advisable to have a Yamaha Marine dealer do the pressure test as, depending on the results, it might be necessary to take the lower unit apart for further analysis.
Now that you are close by, it is a great opportunity to lubricate your propeller shaft, bearings, and any other areas of friction - Yamalube Marine Grease is a great option to use!
How do I change my Yamaha outboard lower unit lubrication?
As per Yamaha, it is suggested to change the lower unit oil after the first 20 hours of operation in a new outboard motor and then every 100 hours subsequently. If the lubricant appears to be milky, has an unpleasant smell or looks burnt, it is recommended to replace it immediately. To do it by yourself, keep a container below the drain plug, remove the screw, and also the upper vent screw from the side of the lower unit. Let the oil pour into the pan. While waiting, inspect the drain screw as it has a magnet in it, which will draw any metal pieces or shavings in the lubricant.
Small amounts of metallic particles are usual, however if there are larger pieces of metal on the screw or in the oil pan during the draining process, it is important to have a Yamaha Marine dealer inspect it for potential internal damage. Additionally, each screw should have a small crush washer (also known as a "drain plug gasket") which should be replaced. If there is no washer visible, it may still be stuck to the outboard and should be retrieved using a pick. These small washers should be disposed of and replaced every time the screw is taken out.
After all the lubricant has drained out, the lower unit should be refilled by screwing the necessary fitting into the lower unit drain screw opening (found on the bottom of the bullet). Slowly insert fresh Yamalube Marine Gearcase Lube or Lubricant HD into the unit. When you see the new fluid oozing from the upper vent screw hole, pause for 5 minutes and then resume pumping until liquid comes out of the vent screw once more. At this point, replace the vent screw with a new crush washer and make sure to tighten it according to the manufacturer's instructions. Then, remove the fitting attached to the drain screw opening and quickly put the drain screw back in with a new crush washer attached. Tighten the screw to the factory specifications.
You have the option of either carrying out the procedures yourself or having your certified Yamaha Marine dealer do them for you. It is essential to do them in order to guarantee proper functioning and to make sure that you are completely content with the experience.