
Yamaha
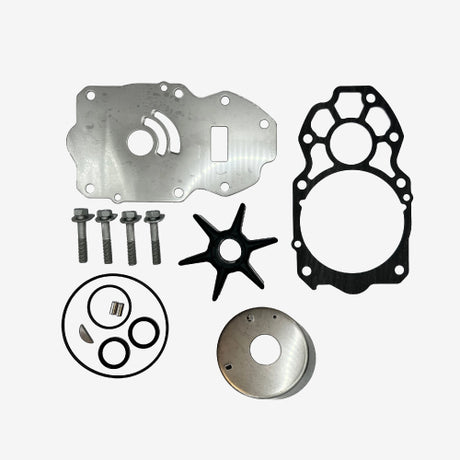
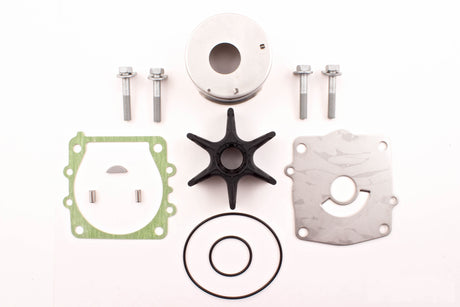
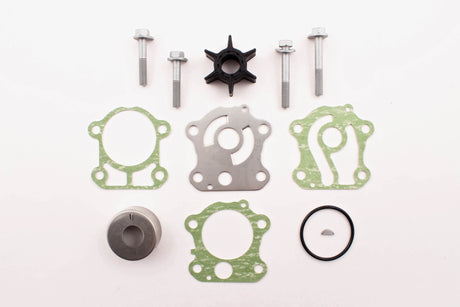
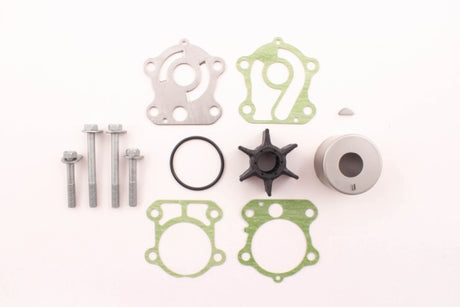
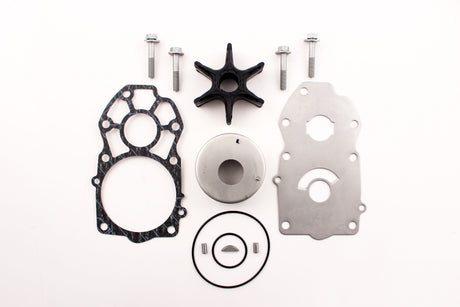
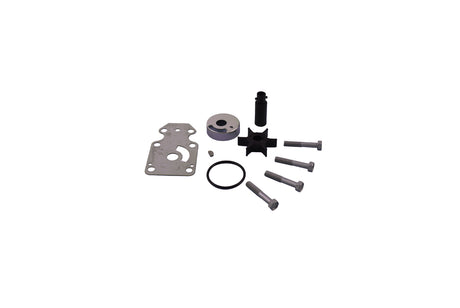
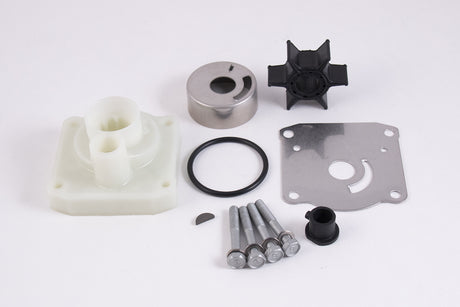
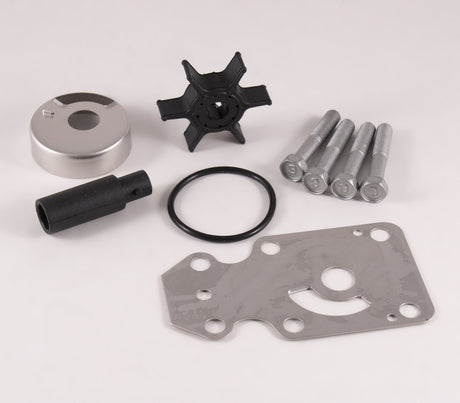
Yamaha 61A-W0078-A3-00 - Water Pump Repair Kit
$64.14 USD$70.15 USDUnit price /Unavailable
Yamaha
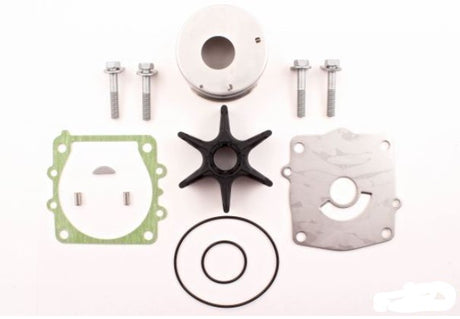
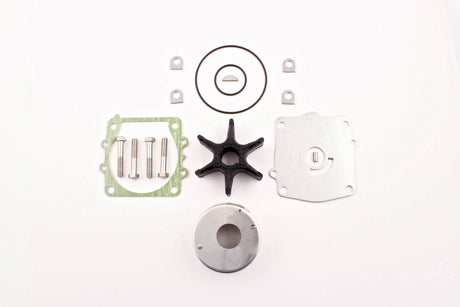
Yamaha - 61A-W0078-A4-00 - Water Pump Repair Kit
$64.14 USD$70.15 USDUnit price /Unavailable
-
 Shop Now
Yamaha Spring Essentials


Yamaha
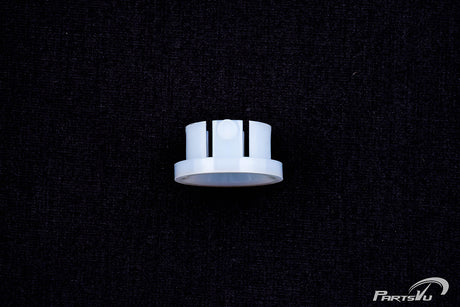
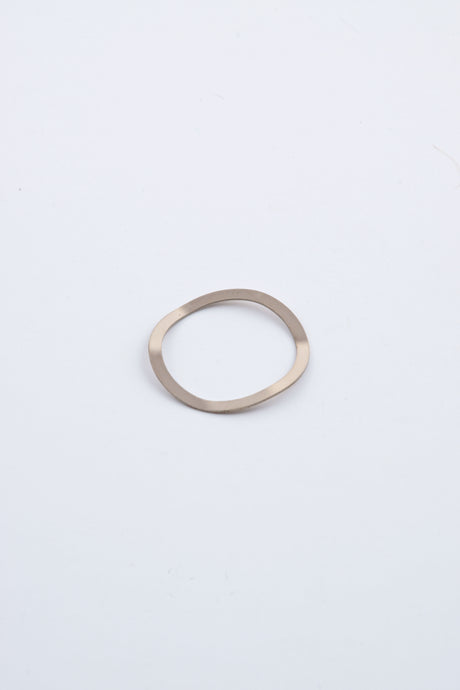
Yamaha 61A-45538-00-00 - Spacer Impeller, Water Pump Repair
$6.21 USD$6.75 USDUnit price /Unavailable
-
Yamaha
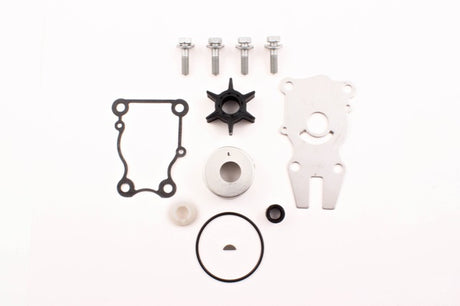
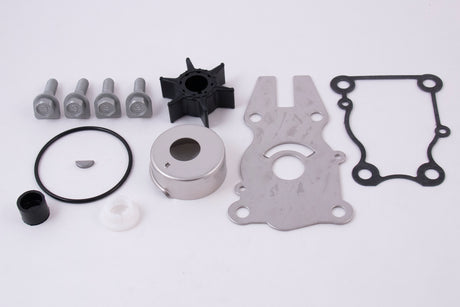
Yamaha 6H3-W0078-02-00 - Water Pump Repair Kit
$32.86 USD$35.95 USDUnit price /Unavailable -
Yamaha
Yamaha 68V-W0078-00-00 - Water Pump Repair Kit
$92.88 USD$101.60 USDUnit price /Unavailable -
Yamaha
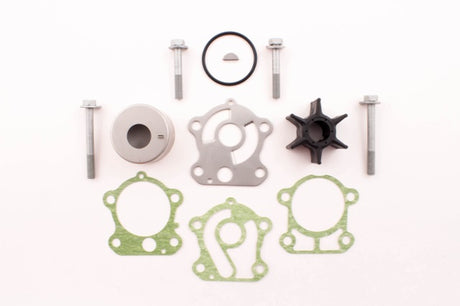
Yamaha 67F-W0078-00-00 - Water Pump Repair Kit
$59.80 USD$65.40 USDUnit price /Unavailable 
Yamaha
Yamaha 63D-W0078-01-00 - Water Pump Repair Kit
$34.24 USD$37.40 USDUnit price /Unavailable
Yamaha
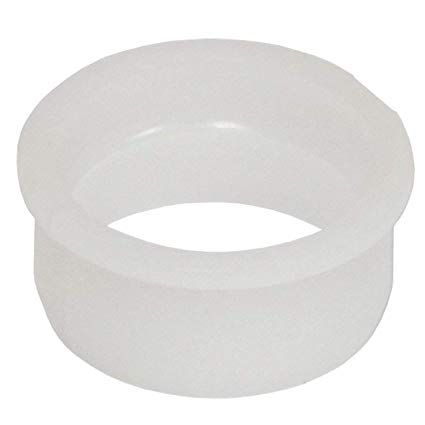
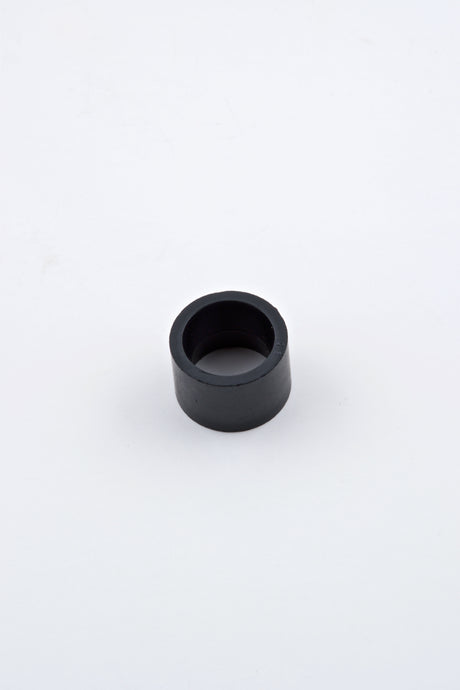
Yamaha 61A-45527-00-00 - Drive Shaft Collar Outboard Lower Casing
$10.40 USD$11.35 USDUnit price /Unavailable-
-
Yamaha
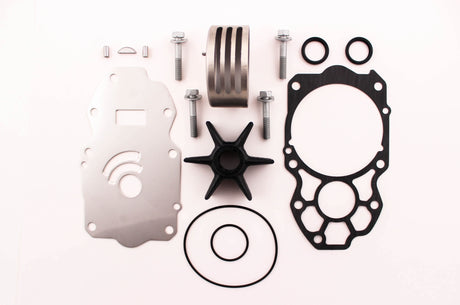
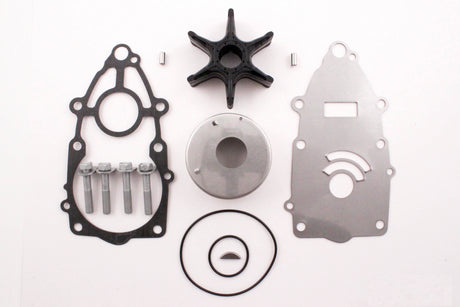
Yamaha 6CB-W0078-00-00 - Water Pump Repair Kit - VF200 VF225 VF250
$123.79 USD$135.50 USDUnit price /Unavailable 

Yamaha
Yamaha 6CE-W0078-01-00 - Water Pump Repair Kit
$237.06 USD$253.30 USDUnit price /Unavailable-
Yamaha
Yamaha 692-W0078-02-00 - Water Pump Repair Kit
$34.81 USD$38.05 USDUnit price /Unavailable 

Yamaha
Yamaha 69G-W0078-00-00 - Water Pump Repair Kit
$47.89 USD$52.40 USDUnit price /Unavailable-


Yamaha
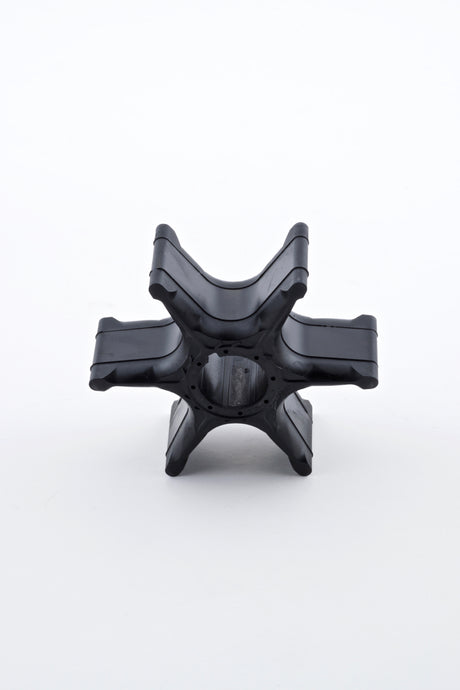
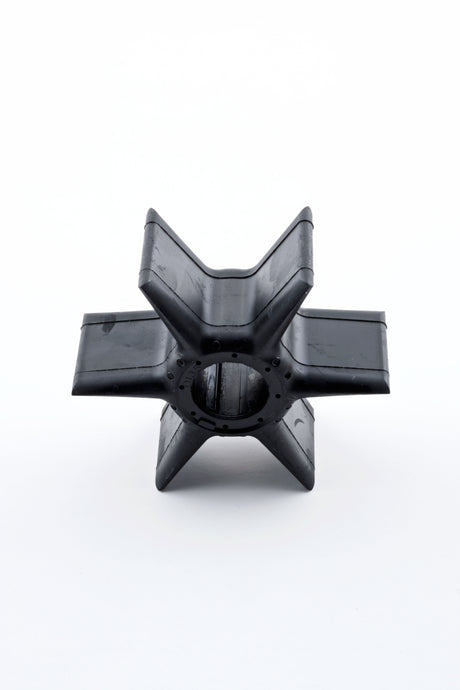
Yamaha 6CE-44352-00-00 - F225 F250 F300 Impeller
$56.12 USD$61.35 USDUnit price /Unavailable-
-
-
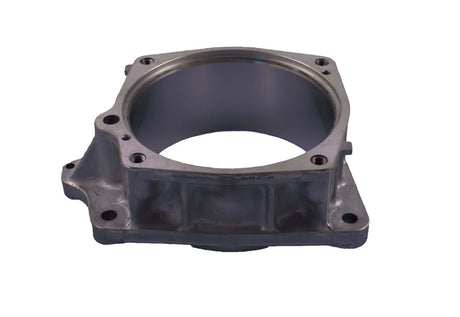
Yamaha
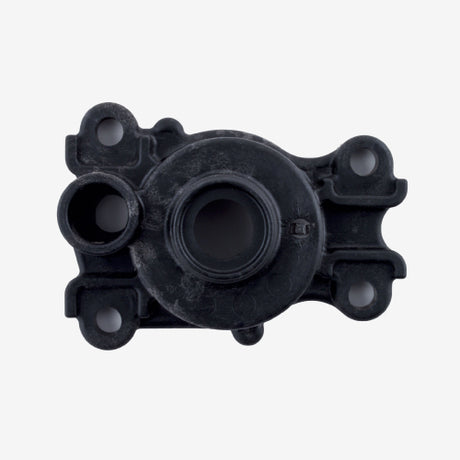
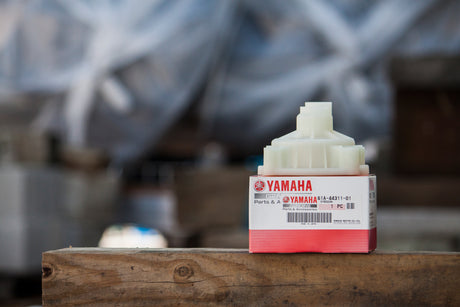
Yamaha 6E5-44312-00-00 - Water Pump Housing Cover Outboard
$2.82 USD$3.05 USDUnit price /Unavailable -
Yamaha
Yamaha 61N-W0078-11-00 - Water Pump Repair Kit
$34.67 USD$37.90 USDUnit price /Unavailable -
-
-
Yamaha
Yamaha 6BG-W0078-00-00 - Water Pump Repair Kit
$63.27 USD$69.20 USDUnit price /Unavailable 

Yamaha
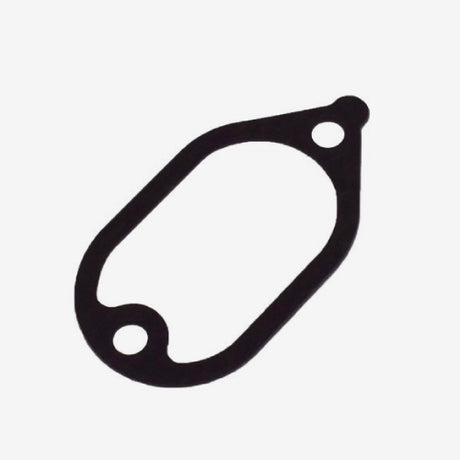
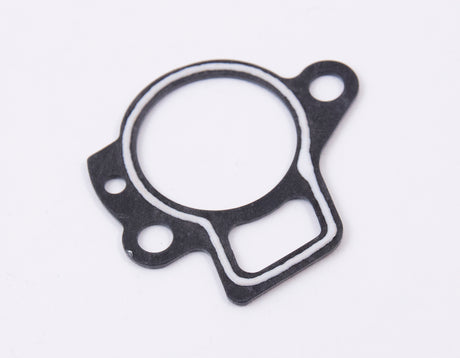
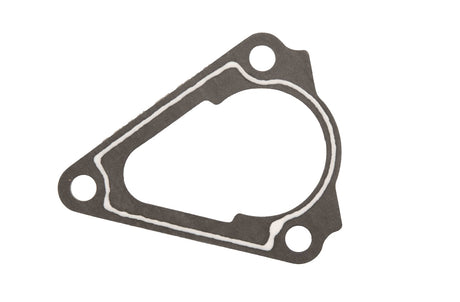
Yamaha 63P-12414-00-00 - Thermostat Cover Gasket
$7.01 USD$7.65 USDUnit price /Unavailable-
-
Yamaha
Yamaha 6P2-W0078-00-00 - Water Pump Repair Kit
$109.57 USD$119.95 USDUnit price /Unavailable -
-
-
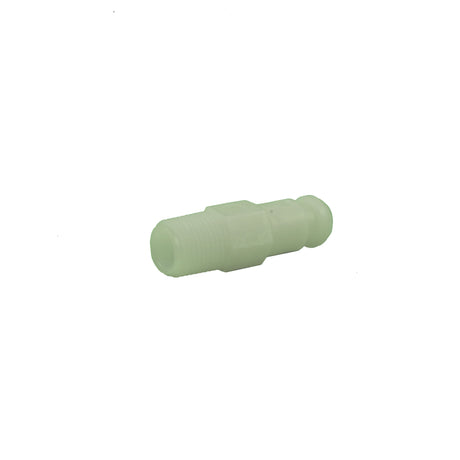
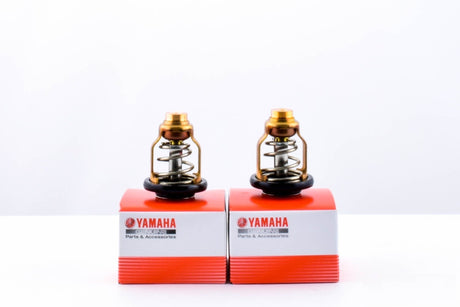
Yamaha
Yamaha 90501-16M11-00 - Outboard Compression Spring Pressure Control Valve
$6.21 USD$6.75 USDUnit price /Unavailable


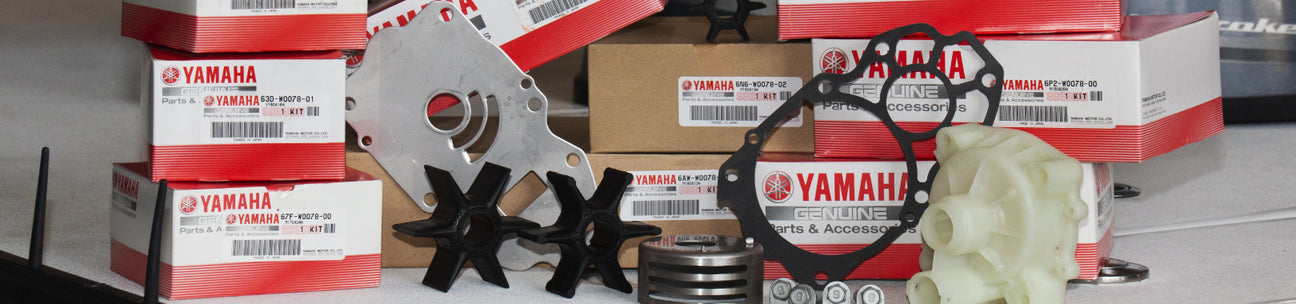
Yamaha Outboard Thermostats, Water Pump Repair Kits, & Cooling Components
Getting the suitable parts for your Yamaha outboard motor will be a breeze with the wide array of Yamaha outboard thermostats, water pump repair & cooling components provided by YamahaOnlineParts.com. If you want to know how to maintain your outboard motor, you can probably find the information you need in our blog.
Our shop offers the entire inventory of Yamaha OEM Parts and Accessories and merchandise, plus packages that can aid you in servicing your Yamaha outboard cooling system, such as:
- Yamaha Outboard Engine Water Pump Housings
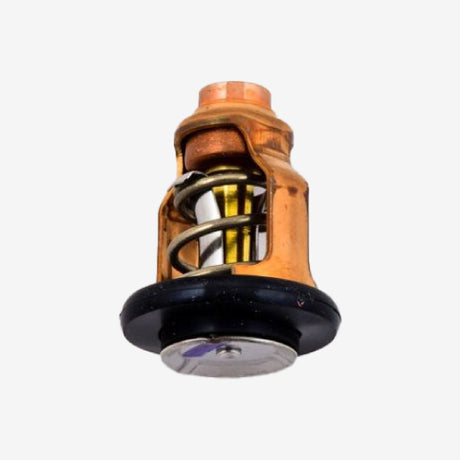
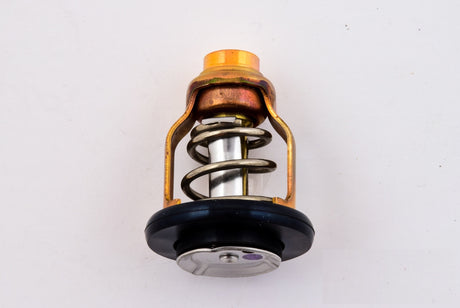
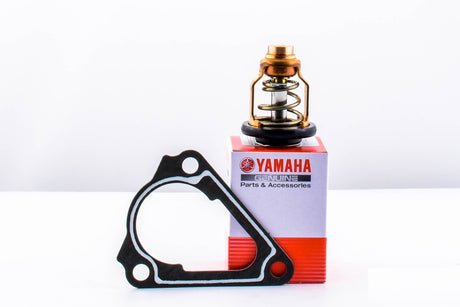
- Yamaha Outboard Engine Thermostats
- Yamaha Outboard Engine Thermostat Gaskets
- Yamaha Outboard Water Pump Repair Kits
Yamaha Outboard Thermostats, Water Pump Repair & Cooling Components FAQs
What are the symptoms of a bad Yamaha outboard thermostat?
There is no gradual decline in performance when it comes to thermostats. When one is malfunctioning, it will completely fail to function. Depending on where the thermometer is when it malfunctions, the thermostat could be stuck open, which would result in a continuous flow of coolant into the engine and the potential for damage. Alternatively, if the thermostat breaks when in the closed position, the engine could overheat. Signs that an outboard thermostat is not working properly include overheating, the engine not being able to reach full power, higher fuel consumption, the engine not warming up, a decrease in performance in cold weather, and water coming out of the exhaust.
When should I change my Yamaha outboard thermostat?
How often you replace your thermostat depends on the amount of time you spend running your Yamaha marine engine, and the environment in which you do so. Your owner's manual will provide you with advice regarding the intervals of when to change it. However, this information is just a suggestion. If you frequently use your Yamaha outboard in salty or silt-containing water, then you should replace the thermostat more often. Generally, it is best to replace it every two years.
How do I service my Yamaha outboard lower unit?
To drain the Yamaha lower unit gear lube, the lower drain screw should be taken out first and then the upper plug vent opened to let air in. Usually, these plugs are visible on the lower unit, but if the engine has a low water pickup, the front pickup needs to be removed to get to the drain plug. A screwdriver and wrench (if required) should be used to loosen the screws which are usually very tight. Depending on who serviced your motor previously, an impact driver and a hammer might be needed. The drain screw has a magnetic tip, so examine the plug after taking it out to figure out if there are any heavy deposits. Small shavings are normal, however if there are chunks or a lot of metal, further investigation is important. Have a drain pan and extra cloths at the ready, as the gear lube will start flowing out from the skeg when the upper vent plug is taken out. Make sure to collect the fiber gaskets from both plugs after removing them, as these are single-use and should be thrown away.
Give yourself a few minutes with the engine in its lowest position so that the old gear oil can empty out entirely. Assess the used oil for signs of water infiltration or impurities or metal pieces just as you would with the engine oil. If you opted for one of Yamaha Online Parts' practical lower unit oil change kits, you will have the necessary gaskets, oil, and pump. Fasten the pump to the bottom drain hole, then link it to the quart of either Yamalube gear oil or HD gear oil, depending on your model.
Start pumping the oil into the lower part until it appears out of the top vent plug. Allow a few moments for the air bubbles to escape from the gearcase. Subsequently, give some more pumps to ensure that the flowing oil from the vent plug is free from bubbles. With a new fiber gasket, put the top vent plug in place and turn it tightly. Detach the fill hose from the lower drain plug and exchange it with a new gasket. Tighten the lower water pickup screen to the specified degree and re-attach it if necessary.
How do I perform a visual inspection of my Yamaha outboard lower unit?
It is important to examine the outside of the lower unit of your boat each time before you go out. If you go fishing, it is beneficial to take off the propeller every 50 hours or when necessary and search for any fishing line or other materials that may be tangled around the propeller shaft. This can cause harm to the prop shaft seals and potentially allow water to enter the gearcase. If any of this is visible, inspect the seals for any harm or leakage. Moreover, you should also observe the color of your lower unit lubricant by unscrewing the "drain screw" at the bottom of the bullet and the "vent screw" on the side of the lower unit. Then, let a small amount of it drain into a clean container.
If the lubricant appears milky, there is water present. It is recommended to have a pressure test conducted by a Yamaha Marine dealer to check the lower unit seals. The dealer may need to take apart the lower unit for a more thorough inspection, depending on the results of the pressure test.
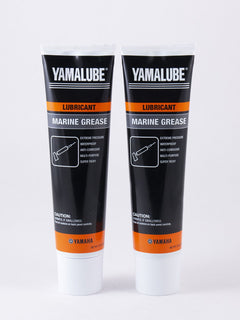
If you are nearby, now is the perfect time to lubricate your propeller shaft, bearings, and any other places where wear occurs - Yamalube Marine Grease is a great choice - so go ahead and use it!
What is the life expectancy of my Yamaha outboard engine?
Yamaha outboard motors have earned a standing for dependability and that is not without cause. The expected life span of the outboard motor is a minimum of 1,500 hours (or, for a typical sailor, that is 6 to 8 years). But, with appropriate maintenance, the motor could last up to 4,000 hours, which is 16 to 21 years before you will have to obtain a new one.