Yamaha
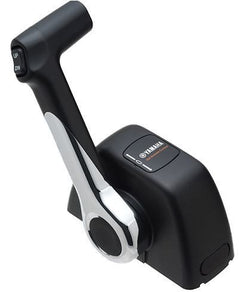
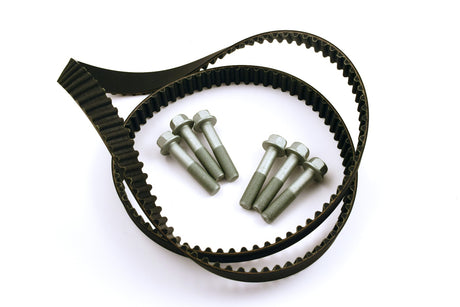
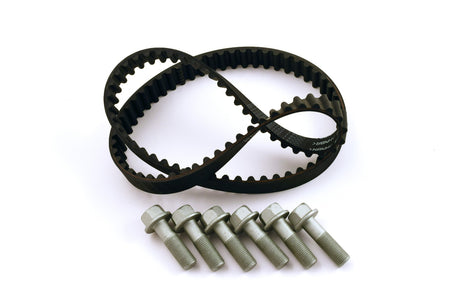
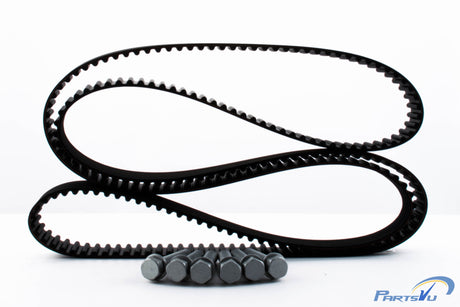
Yamaha 6CB-W4624-00-00 - Engine Timing Belt with Rotor Bolts
$182.88 USD$195.35 USDUnit price /Unavailable-
 Shop Now
Yamaha Spring Essentials
-
-
-
-
Yamaha
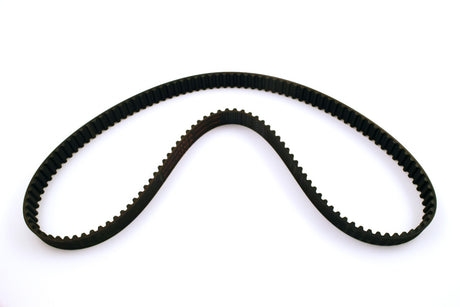
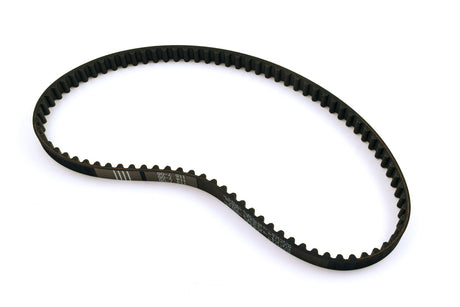
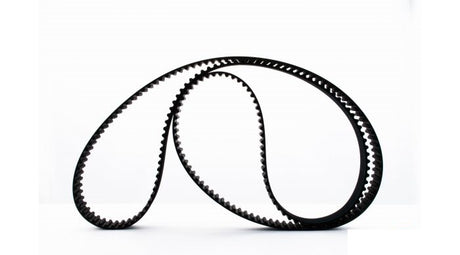
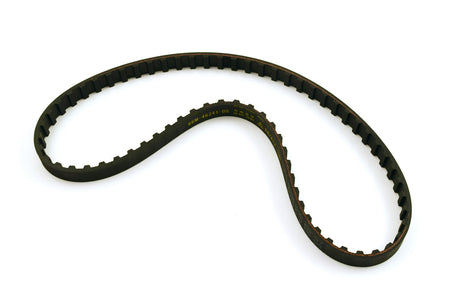
Yamaha 6DA-W4624-00-00 - Belt (with rotor bolts)
$128.85 USD$141.05 USDUnit price /Unavailable -
-
-
-
-
-
-
-
-
-

-
Yamaha
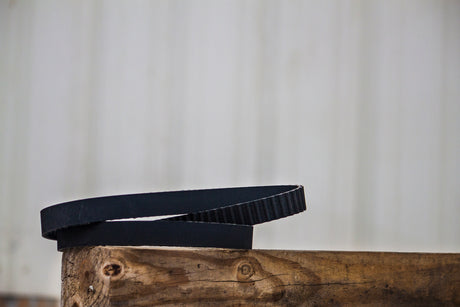
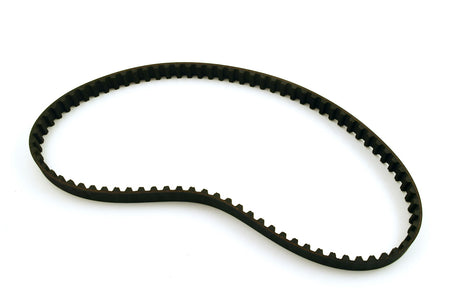
Yamaha 6GR-W4624-00-00 - Engine Timing Belt with Rotor Bolts
$164.80 USD$176.00 USDUnit price /Unavailable -
-
Yamaha
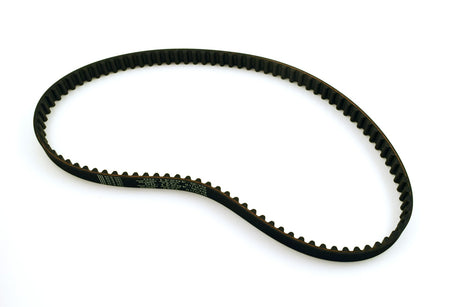
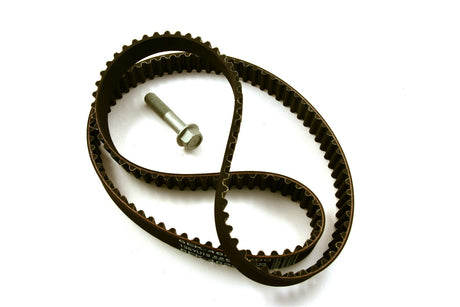
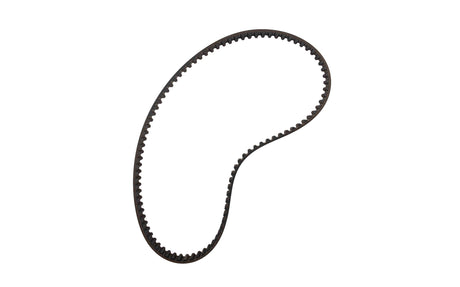
Yamaha 6FP-W4624-00-00 - Engine Timing Belt with Rotor Bolts
$58.79 USD$64.35 USDUnit price /Unavailable -
Yamaha
Yamaha 6EK-W4624-00-00 - Engine Timing Belt with Rotor Bolts
$88.84 USD$97.20 USDUnit price /Unavailable -
-
Yamaha
Yamaha 6AW-W4624-00-00 - Engine Timing Belt with Rotor Bolts
$272.95 USD$291.60 USDUnit price /Unavailable -
-
-
-
-


Yamaha Engine Belts
YamahaOnlineParts.com offers a great variety of original equipment manufacturer (OEM) timing belts that are compatible with numerous Yamaha outboard motor models. If you are wondering how to maintain your Yamaha outboard motor, we provide up-to-date information and helpful tutorials on our blog. Looking for more resources to help you find the right Yamaha OEM parts and accessories? Check out our blog.
Yamaha Outboard Engine Belts and Timing Belts FAQs
How do I perform spark plug and compression maintenance on my Yamaha outboard motor?
Keeping up with Yamaha spark plug and compression upkeep is essential for a long-lasting and dependable outboard motor. To start this step of the Yamaha 100-hour service, take off the plastic covering on the spark plugs or ignition coils. Generally, Yamaha engines have NGK brand spark plugs from the factory, and YamahaOnlineParts.com offers numerous original plugs. Generally, the spark plugs have a pre-set gap, but it is a good idea to recheck the gap to make sure they are not damaged during production or delivery. It is useful to refer to your owner's manual, or you could check out the Yamaha Engine Schematics.
When taking out the old spark plugs, make sure to record which one came from which cylinder. If the plug is wet from any liquid such as water, oil, or gasoline, take note. Also pay attention to heavy carbon deposits, fouling, or rust in the plug, which are all signs of other issues. If you go to a dealer for a 100-hour service, they will use a compression gauge to connect it to the cylinders and use the starter motor to look at the cylinder's capacity to pressurize. If you do the test at home, you'll need a remote starter button or a friend to turn the ignition key while the kill lanyard is taken out. This process of cranking the ignition with the lanyard off will also spread the new oil around the block, which will reduce friction when the service is done.
It is necessary to check each cylinder multiple times and compare the numbers. Since the accuracy of the gauges could be different, the best result would be a variation of less than 10% between the readings.
Once the compression test is either done or skipped, it's time to put in the spark plugs. To make it easier to take out and to prevent any damage to the cylinder head, apply a bit of oil to the threading of the plug, making sure not to wet the center or the electrode. Insert the plugs into the cylinder head by hand, taking care that they are not cross threaded. NGK has a crush washer which will compress and give a tight seal when you tighten it - the full torque is between 18-21 ft. lbs. Put the plug wires or coils back in the same order and use some Yamaha grease for the threads of the bolts, coils, and covers.
How do I know if I have water in my Yamaha outboard engine block?
When you encounter water inside a Yamaha outboard motor, it's important to inspect the Yamaha thermostat(s) before taking apart the machine and examining the engine block, cylinder head, exhaust-water passage, oil cooler, or any other complex repairs. Keep in mind that certain Yamaha V-engines consist of two thermostats.
In order to identify the location of Yamaha thermostats, the service manual should be consulted, as the placement differs depending on the engine model. According to the service manual, the thermostat should be put in a pot of boiling water to assess if it is opening and closing at the right temperature. If the pot of hot water is not available, then an infrared temperature gun can be used on the thermostat housing to get an indication of engine temperature. To make sure the engine is functioning within the correct temperature range, the service manual should be consulted again.
If your engine appears to be running at a lower temperature than normal, it's likely that the thermostat is jammed in the open position. Detach the thermostat housing and examine it. If it is stuck, replace it with a new one and make sure to do multiple oil and filter changes to guarantee all of the water is taken out of the engine's oil.
You may be wondering how water can be present in the oil if the Yamaha outboard thermostat is stuck open. If the engine is running at a temperature lower than normal, the hot oil that is exposed to the cold engine can lead to the formation of droplets. These droplets then merge together and end up in the oil. In addition to the water, when the engine is running cold, the piston rings may not be able to fully expand and make a close seal against the Yamaha outboard cylinder wall. This can cause some of the raw fuel to be leaked into the sump, leading to the oil having a milky appearance. Furthermore, dirt can get stuck in the thermostat and stop it from closing properly.
If you think that there might be water present in the engine oil, there are two practical ways to find out. You can take off the oil cap and look at the bottom to see if it's wet, or you can take out the dipstick to examine the oil for moisture. Both of these methods are reliable. To prevent Yamaha thermostat problems, you should flush the engine periodically as instructed in the owner's guide.
When should I change my Yamaha 4-stroke outboard engine’s spark plugs?
Boaters should generally take out the spark plugs from their Yamaha four-stroke outboard motor every two hundred hours or two times a year and check them to make sure they are a light brownish color and have relatively sharp edges. If they need replacing, the exact model and part number that the outboard's maker recommends should be used, as the type and style of spark plugs designed for the outboard are created with certain features that are tailored to the outboard's functioning.
What is a leakdown test?
A Yamaha outboard engine leakdown test provides an assessment of every cylinder in the motor and its overall state. This test, which is analogous to a compression test, consists of introducing pressurized air into each cylinder and using a pressure gauge to detect the amount of pressure that is lost in a brief amount of time.
When carrying out a leakdown test on an engine, it is essential to pay attention to any potential signs of leakage. Listening carefully to each cylinder and the spaces surrounding them can help determine if there are any leaks.
A pressure test is performed to ascertain whether there are any air leaks in the motor. It is possible that air may enter the engine, giving rise to leakage of fuel-air mixtures or fuel during functioning.
Furthermore, these openings can serve as avenues for liquid and humidity from the surrounding water to enter, leading to inner corrosion, underperforming operation (e.g., at low and high rotations per minute), and other related issues.
How do I perform a leakdown test on my Yamaha outboard engine?
- Start by taking off the top Yamaha shielding cover and afterward, take out the spark plug casing situated at the back of the engine.
- Take out the spark plugs and make sure to arrange them in numerical sequence for when you need to put them back in or exchange for new ones.
- Take the flywheel cover off from the engine's upper part.
- Utilizing a marker, label the flywheel at the 0°, 120°, and 240° points. These markings will represent the locations to which each set of cylinders need to be turned to reach their top-dead-center spots (see Steps #11 and #12).
- Utilizing a ratchet and socket, turn the crankshaft of the Yamaha Yamaha cylinder #1 to the highest point of its stationary position.
- To ensure an accurate reading, adjust the regulator on the leak down tester to zero percent.
- Attach the leak-down tester to the spark plug port of the first cylinder by screwing it in place. Then, link the tester up to the compressor and take the reading. Be certain to grasp the crankshaft tightly so that it won't spin.
- Turn the crankshaft in a complete circle so that the Yamaha cylinder number 4 is situated at the highest point of its stroke.
- Attach the leak-down tester to the fourth cylinder before stopping the crankshaft from turning and recording the measurement.
- Move the third cylinder of the Yamaha engine up to the highest point where it stops and make sure it is at the 120° mark. Afterward, repeat the seventh to tenth steps for the third and sixth cylinders of the Yamaha motor.
- Position cylinder #2 to the highest point of inactivity at 240°. Afterward, repeat steps 7 to 10 for Yamaha cylinders #2 and #5.
- Taking out and putting in components is the same process. It is important to make sure to change the spark plugs in a sequence and use an anti-seize substance on the threads to ensure it can be taken out and put back in quickly. Additionally, ensure that the ignition cables are firmly secured to make sure the connection is good.