All Categories


NGK Spark Plugs
Yamaha LFR-5A110-00-00 - NGK LFR5A-11 Spark Plug
$7.95 USD$13.49 USDUnit price /Unavailable-
-
 Shop Now
Yamaha Spring Essentials
-
-
NGK Spark Plugs
NGK B8HS10 - Standard Spark Plug - #5126
$2.97 USD$5.19 USDUnit price /Unavailable -

-
-

-
-
NGK Spark Plugs
NGK BR7HS10 - Standard Spark Plug - #1098
$4.28 USD$5.39 USDUnit price /Unavailable -
-
-
-
-
-
-
-
-
-
-
-
-
-
-
-
-
-
-
-
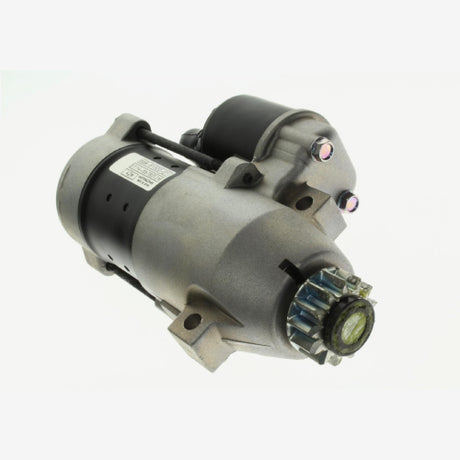
Yamaha
Yamaha 6CJ-81800-00-00 - Starting motor assy
$727.74 USD$748.50 USDUnit price /Unavailable -
-
-


Yamaha Spark Plugs & Ignition Components
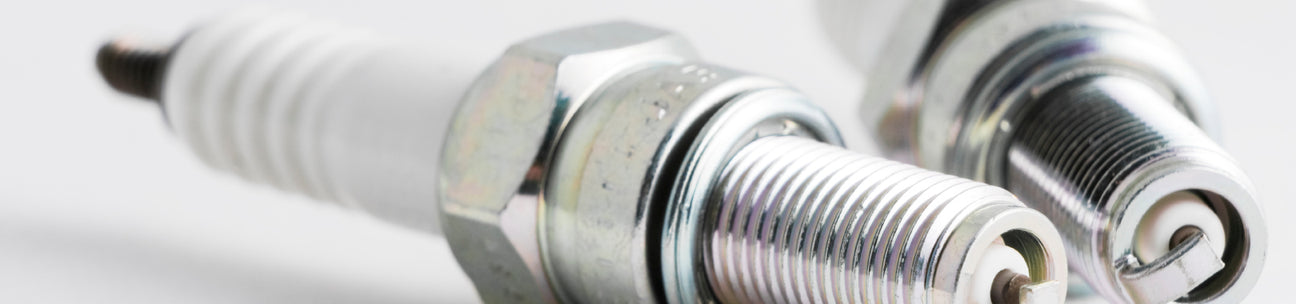
Your boat's engine would not work properly without marine spark plugs. This part is responsible for taking in high-voltage electricity and igniting the spark that results in combustion. To make sure your Yamaha outboard engine starts up each time, you should replace any old Yamaha spark plugs and ignition components. Get the highest quality certified Yamaha OEM replacement parts from YamahaOnlineParts.com.
We have a full selection of Yamaha OEM Parts and Accessories, plus other spark plugs and parts for servicing your Yamaha outboard motor, such as:
Yamaha Outboard Spark Plugs & Ignition Components FAQs
How do Yamaha outboard spark plugs work?
Yamaha outboard spark plugs produce the electrical spark that initiates the combustion of the air-fuel mixture in the boat's engine, leading to the generation of power. These spark plugs create a spark by forming an electric arc between two leads that are situated in close proximity to each other, but without touching.
How often should I change my Yamaha outboard engine spark plugs?
Boat owners cannot agree on the best approach when it comes to spark plugs. While certain mariners are insistent on changing them every 12 months or 100 hours, YamahaOnlineParts.com suggests that they should be carefully examined on an annual basis or after every 100 hours, and swapped out if they are fouled or broken. It is also advised that the spark plugs get changed out after 300 hours of use.
How do I perform spark plug and compression maintenance on my Yamaha outboard motor?
To ensure the long-term dependability of your Yamaha outboard engine, it is essential to routinely maintain its spark plugs and compression.
When completing the Yamaha 100-hour service, start by taking off the protective covering over the spark plugs or ignition coils. The spark plugs that were installed in the engine at the factory were made by the NGK company and YamahaOnlineParts.com carries various types of these original plugs. In most circumstances, the spark plugs may come pre-set with the right gap, but it is recommended to double-check to make sure that none of them were harmed when being created or delivered. The manual provided with the engine should provide useful information or you can also use the Yamaha Engine Specifications and Capacities Chart.
As you take out the previous spark plugs, make sure to remember which plug came from which cylinder. Make a note if it looks as if the plug has been wet from water, oil, or fuel. Also, be sure to notice if there are heavy carbon deposits, fouling, or corrosion on the plug, as these may suggest that there is a problem. If you were to bring your engine to the dealership for 100-hour service, they would attach a compression gauge to each of the cylinders and use the starter motor to rotate the engine and see if the cylinder can create pressure.
If you want to do this test in the comfort of your home, you need either a special button to start the engine remotely or a friend who can turn the key in the ignition with the kill lanyard taken off. This cranking with the ignition off will circulate the new oil around the block, resulting in less friction when you start the engine after the service is done. Test every single cylinder again and compare the results. The values you get may vary from one gauge to another, so the examination is more about finding out if the difference between the readings is not more than 10%.
Once the compression test is finished - or bypassed - you can go ahead and put in your new spark plugs. To make it easier to take them out and prevent any damage to the cylinder head, put a drop of oil on the threads of the plug with your finger, being very careful not to get it on the electrode or the porcelain inside. Screw the plugs into the cylinder head by hand, taking care not to cross-thread them. NGK uses a crush washer which will give a good seal when you tighten it - the torque should be 18-21 ft. lbs. Then, replace the plug wires or coils in the same order and use a little Yamaha grease on the threads of the bolts, coils, and covers.
When should I change my Yamaha 4-stroke outboard engine’s spark plugs?
Boaters should usually take out their Yamaha four-stroke outboard spark plugs every two hundred hours or twice a year and assess the color and wear. They should be a pale brown shade and have sharp edges. When needed, change the spark plugs with the exact manufacturer and part number that the outboard maker indicates. The model, type, and style of spark plugs employed in the outboard are ideal since they have particular performance traits that were created for the outboard's functioning.
Does my Yamaha outboard head gasket need to be repaired?
Do you think that the seal in your Yamaha outboard is dilapidated? This seal is a pivotal part of the engine's performance and endurance. It is located between the cylinder head, where the spark plugs are fixed, and the cylinder block. The head gasket seals these components together, so it can endure the pressure from the engine and enable the water to flow between the cylinder block and head.
As with the majority of external parts, elements get worn out over time and use. Head gaskets that are repeatedly subjected to intense heat, saltwater that corrodes, and other materials will eventually decrease the quality of the seal.
Failing to replace a head gasket once it starts to no longer function properly will cause water to make its way into the engine. This will lead to a decrease in the outboard's performance and possibly cause extensive destruction to the motor.
To avoid this, there are a number of telltale signs to look out for when it’s time to replace your Yamaha outboard head gasket, including:
- Reaching the 4-Year Mark
- Low Pressure in the Cylinders
- Water Coming Out of a Spark Plug Hole
- Black Specks, Crud, and Slime in the Cylinder
- Idle Runs Too Slow or Rough
- Holes In the Head Gasket
How much does it cost to replace a Yamaha outboard head gasket?
If you opt to replace the Yamaha outboard head gasket by yourself, the only costs you need to bear are for the parts (which are typically less than $50 for multiple engine models) and tools (some of which might already be in your tool kit).
When you bring your outboard engine to a professional mechanic, there will be expenses for parts and labor. Generally, labor fees range from $70 to $120 or more, so the entire cost of a head gasket replacement might be over a few hundred dollars. On the other hand, having an experienced technician handle the head gasket replacement can also be beneficial. They can make other necessary repairs, flatten warped heads, and detect any other impending issues with the Yamaha outboard.
How do I unclog my Yamaha outboard motor fuel pump?
Problems with Yamaha 115 4-strokes, such as difficulty in starting and misfiring, can be caused by blocked fuel injectors. This can be because of the build-up of carbon that does not allow for a smooth supply of fuel. As a result of this, the outboard engine may misfire, vibrate heavily and struggle when it is in idle mode or when the throttle is increased.
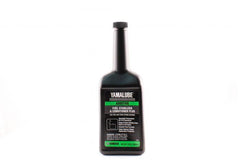
To ensure your Yamaha 115 4-stroke motor is functioning optimally, it is important to routinely use fuel injector cleaner to clean the outboard fuel injectors.
If you want to know the specific elements required for a DIY project, here is an example of what is involved with cleaning your fuel injectors:
- Initially, the fuel injectors have to be detached from the motor, including the fuel rails. (It should be noted that there are alternate ways of cleaning the fuel injectors that let you complete the repair while the fuel injectors remain attached to the engine).
- Carefully remove the rubber O-rings and gaskets from each fuel injector.
- After being taken out, scrub the injectors with a piece of cloth and fuel injector cleaner to wipe away any particles present on the surface.
- Afterwards, you will take a section of the fuel pipe and secure the fuel injector onto one end of the tubing.
- Fill the fuel hose with an ample amount of fuel injector cleaner.
- Attach the other end of the hose to an air compressor, which will simulate the pressure in an engine and make the fuel injector cleaner flow through the injector's nozzle. (Note: There is specific apparatus for this purpose).
- It is necessary to provide energy to the fuel injector using a battery and two spade connectors in order for the air and fuel cleaner to travel through the nozzle.
- Generate air pressure in the hose and tap rapidly on the battery to transmit voltage to the fuel injector, making it open and shut (emulating its common job). This allows the fuel injector cleaner to move through the fuel injector.
- Repeat the process until each of the fuel injectors has been cleaned.