
-

-

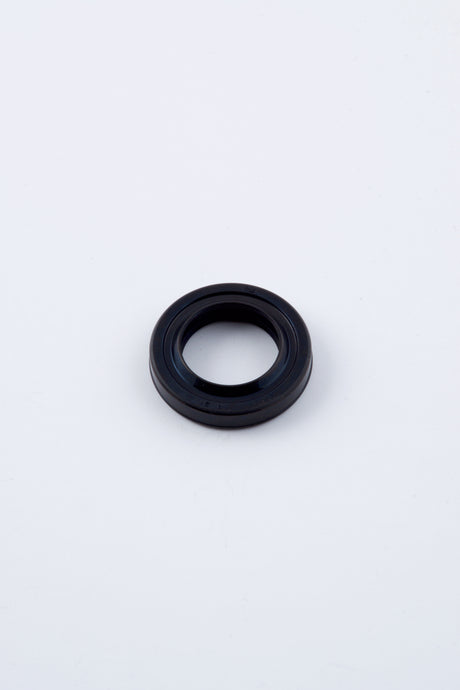
Yamaha
Yamaha 64E-43822-00-00 - Seal Trim Dust Power Trim & Tilt Assembly
$13.58 USD$15.10 USDUnit price /Unavailable
-
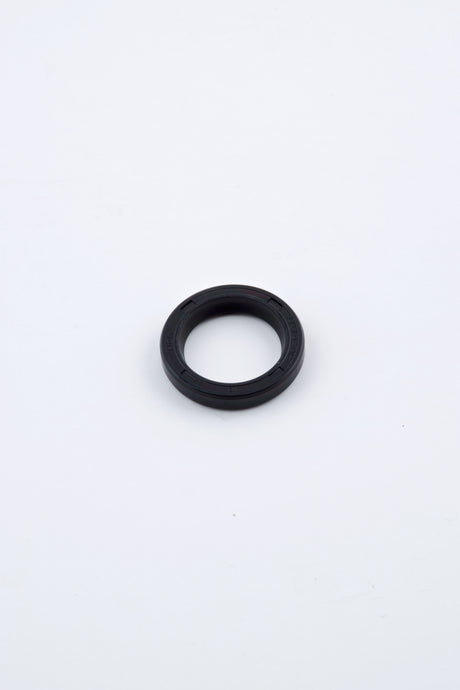
Yamaha
Yamaha 6H1-43822-10-00 - 60 70 90 Trim Dust Seal
$9.75 USD$10.80 USDUnit price /Unavailable -
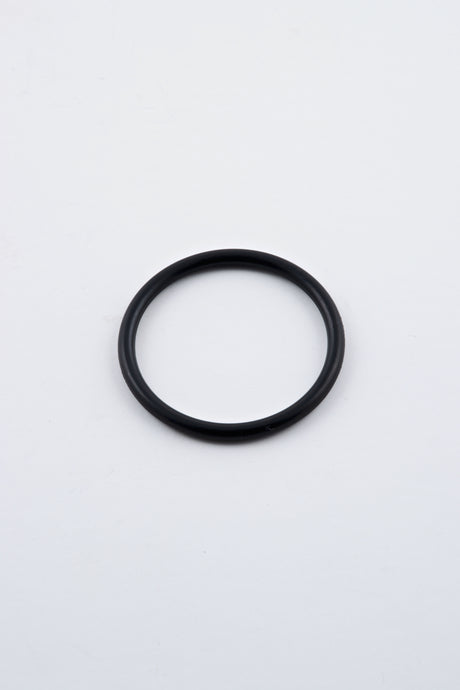
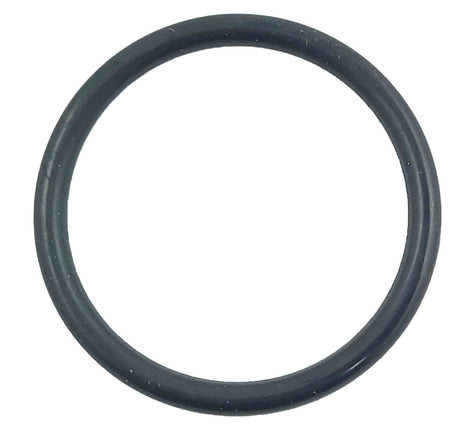
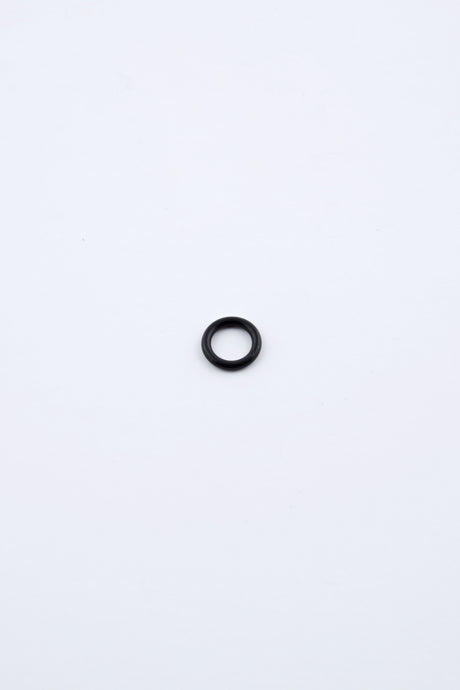
Yamaha
Yamaha 6H1-43861-10-00 - O-Ring Power Trim Assembly
$6.86 USD$7.60 USDUnit price /Unavailable -
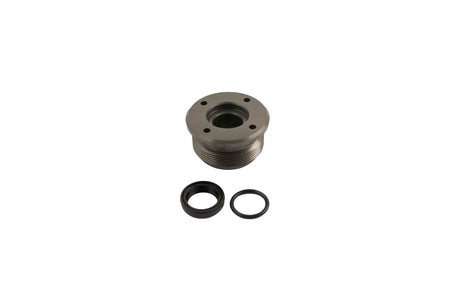
Yamaha
Yamaha 6H1-43872-00-00 - 70 90 F200 F225 F250 F300 Backup Ring
$8.16 USD$9.10 USDUnit price /Unavailable 
Yamaha
Yamaha 6G5-43864-00-00 - O-Ring Power Trim and Tilt Assembly
$8.74 USD$9.80 USDUnit price /Unavailable-
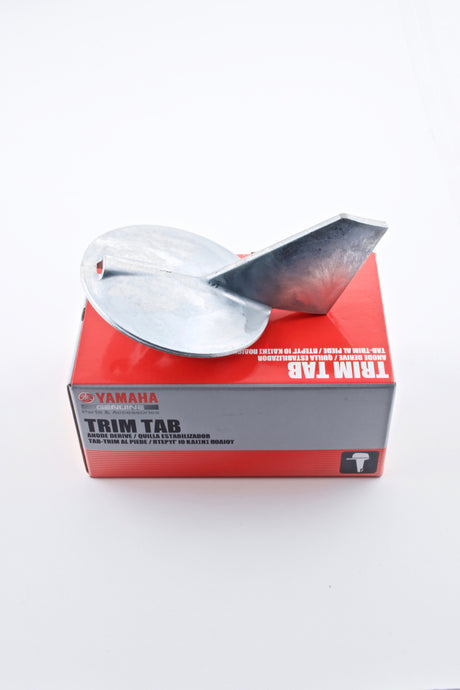
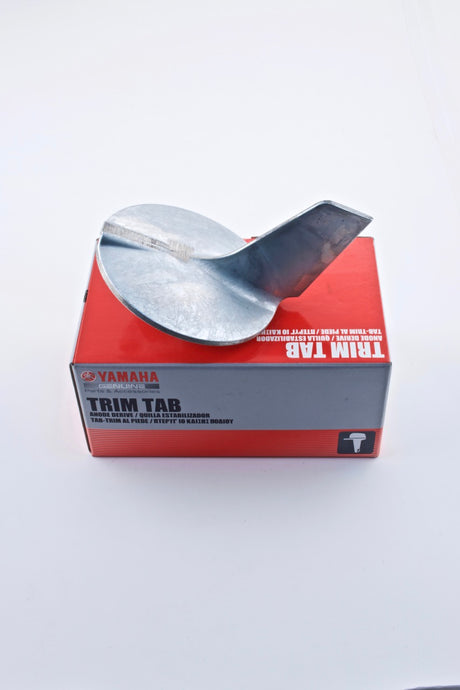
Yamaha
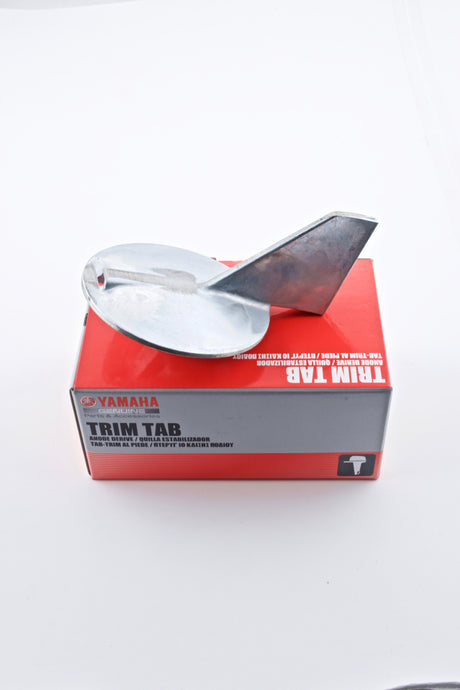
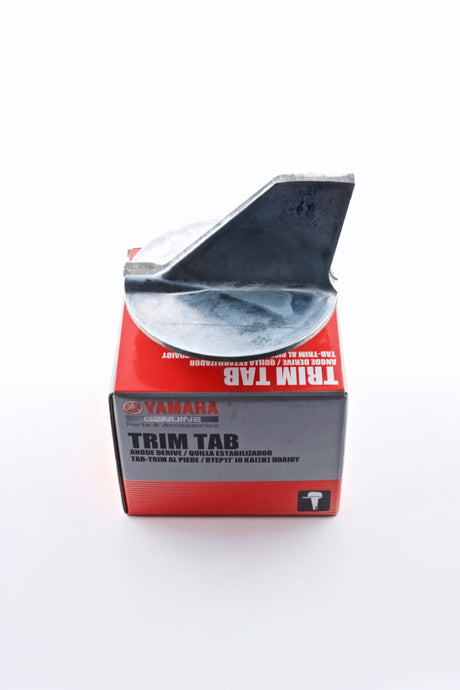
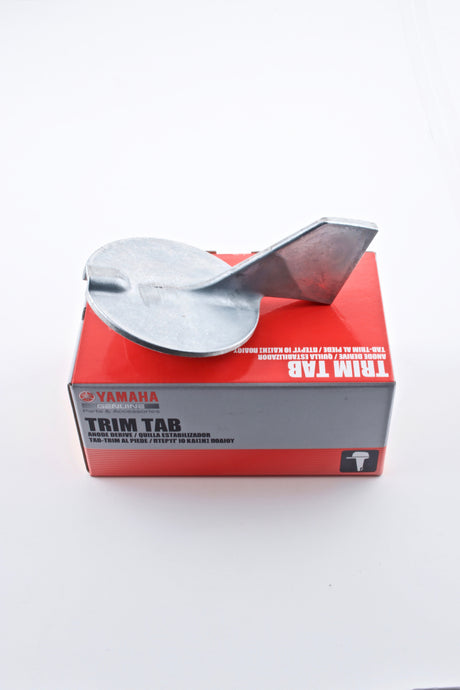
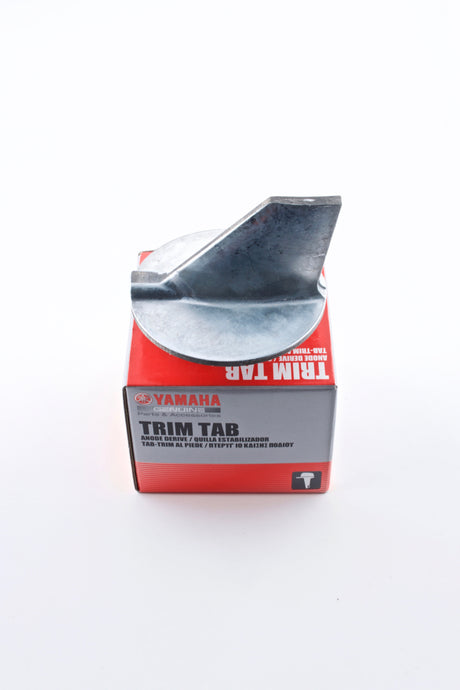
Yamaha 6K1-45371-02-00 - Counter Rotation Trim Tab Anode
$50.70 USD$56.60 USDUnit price /Unavailable 
-
Yamaha
Yamaha 61A-43821-09-00 - Trim Cylinder End Screw - 3.3L V6 & Saltwater Series Outboards
$31.56 USD$35.20 USDUnit price /Unavailable -
Yamaha
$57.27 USD$63.90 USDUnit price /Unavailable 
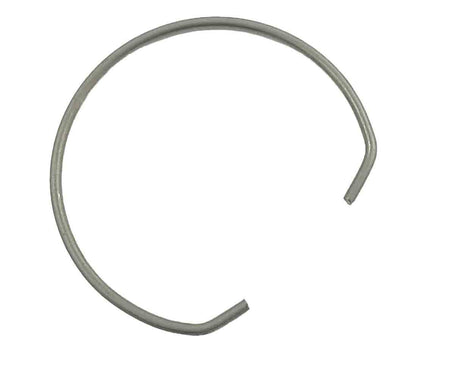
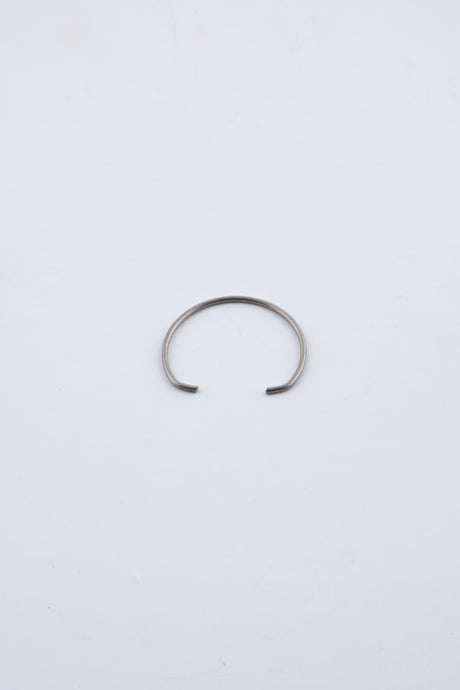
Yamaha
Yamaha 6T4-43875-01-00 - Z250 Z300 F200 F225 F250 F300 Snap Ring Power Trim & Tilt
$6.86 USD$7.60 USDUnit price /Unavailable-
-
-
Yamaha
Yamaha 61A-43821-01-00 - Trim Cylinder End Screw - 3.3L V6 & Saltwater Series Outboards
$31.56 USD$35.20 USDUnit price /Unavailable -
-

-
-

-
-
Yamaha
Yamaha 6H1-43872-10-00 - Back Up Ring Trim Piston
$5.78 USD$6.40 USDUnit price /Unavailable -
Yamaha
Yamaha 64E-43869-00-00 - O-Ring Power Trim and Tilt
$6.07 USD$6.75 USDUnit price /Unavailable -
Yamaha
$61.54 USD$68.60 USDUnit price /Unavailable -
-
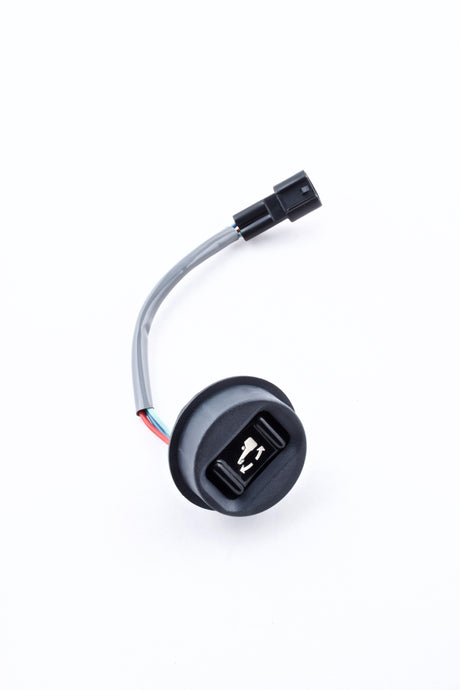
Yamaha
Yamaha 99999-03830-00 - Cam Trim Sender Kit With Screw
$18.20 USD$20.25 USDUnit price /Unavailable -
Yamaha
Yamaha 6L6-45371-00-00 - Counter Rotation Trim Tab Anode
$36.26 USD$40.45 USDUnit price /Unavailable -
-

Yamaha
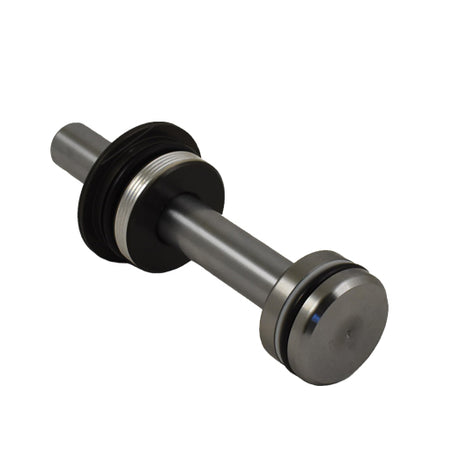
Yamaha 64E-43820-08-00 - Trim piston sub assy
$196.92 USD$214.60 USDUnit price /Unavailable-
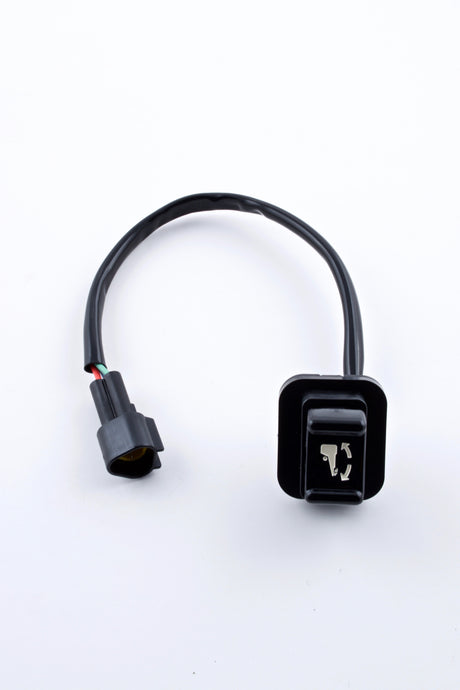
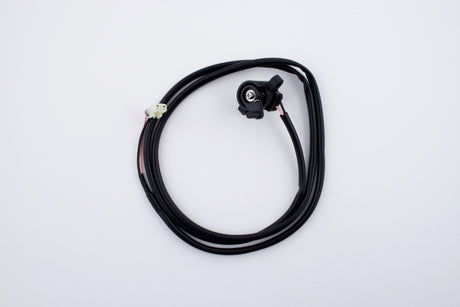
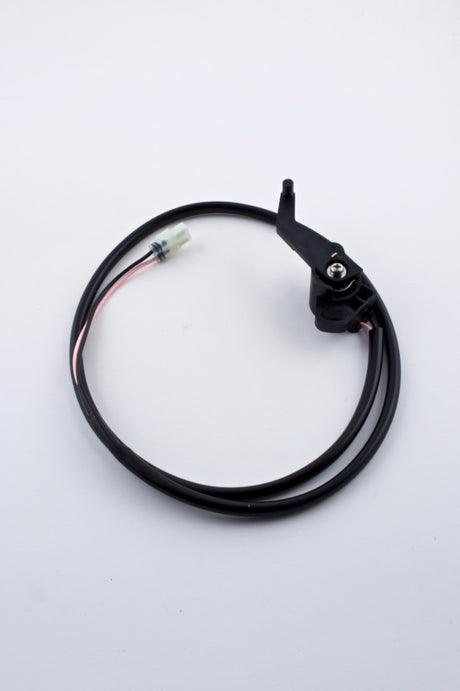
Yamaha
Yamaha 69J-82563-00-00 - Trim & tilt switch assy
$57.27 USD$63.90 USDUnit price /Unavailable -


Trim & Tilt Components for Yamaha Outboards
Maintain control over your boat's engine tilt — the right way.
If you've ever been on the water and felt your Yamaha outboard wasn’t trimming quite right, you’re not alone. Tilt and trim issues aren’t uncommon — but the fix usually starts with the right parts. That’s where we come in.
At YamahaOnlineParts.com, we stock genuine Yamaha OEM parts and accessories such as trim and tilt components built to keep your Yamaha motor in top shape. Whether you're replacing a worn-out o-ring or giving the entire tilt system a refresh, these kits are made to fit your exact engine model — no guesswork, no mismatches.
These aren’t just parts. They’re everything you need to keep your boat engine tilt system functioning smoothly: snap rings, trim seals, o-rings, end screws — all bundled, all Yamaha-approved. Prefer picking up individual items? You can do that too.
TL;DR
- Full trim and tilt kits for Yamaha outboards
- Helps fix or fine-tune boat engine tilt
- Kits include OEM-grade rings, seals, and screws
- Improves motor response, handling, and fuel use
- Backed by Yamaha specs and fit standards
What does a Yamaha outboard trim motor do?
A Yamaha outboard trim motor powers the trim and tilt system that raises, lowers, and adjusts the engine angle. This helps improve performance, shallow-water operation, trailering position, and overall boat handling.
Signs of a bad Yamaha trim motor
Common Yamaha trim motor failure signs include clicking with no movement, slow trim or tilt response, the motor not raising or lowering, intermittent operation, blown fuses, corrosion, or water intrusion around the trim and tilt assembly. Before replacing the trim motor, check the battery, relays, wiring, fluid level, and hydraulic system.
What is “boat engine tilt” and why should you care?
In simple terms, boat engine tilt refers to adjusting the angle of your outboard motor up or down. Why does that matter? Because it directly impacts how your boat handles. Trim too low and you’ll get drag. Too high, and you lose grip and fuel efficiency. Yamaha trim and tilt systems — hydraulic or electric — help you find that balance without fuss.
When working properly, they’ll make your ride feel smoother, quieter, and more responsive.
Common Questions (And Straight Answers)
How do I fix the tilt on my Yamaha boat engine?
Start simple: check the trim switch and the battery. If the motor won’t move, you might have a bad relay, hydraulic fluid leak, or even a tired electric motor in the tilt system. You don’t always need to replace everything — sometimes it’s just a worn seal or low fluid. Our kits can help with both full rebuilds and quick fixes.
What causes tilt issues in Yamaha outboards?
Several culprits could be at play:
- Electrical shorts
- Bad trim switch
- Failing pump motor
- Old o-rings or leaking seals
- Weak battery
A full inspection is always smart — and if you’re unsure, many Yamaha dealers offer diagnostics.
Installing a Trim Tab Anode: What You Should Know
Installing or replacing the trim tab anode? It’s not too tricky:
- Look just above the propeller — that’s usually where it lives.
- Remove the plug and use a ½” socket to loosen the bolt.
- Swap in the new anode, tighten things up, and if needed, tweak its angle slightly to correct steering pull.
Boat pulling right? Adjust the anode slightly to the right. Pulling left? Do the opposite.
One thing to remember: make sure it’s tight. If it wobbles, it’ll shift out of position over time.
Why Trim Tab Anodes Matter (Even If You Don’t Think About Them)
Besides helping with steering correction, your trim tab anode is a sacrificial part that fights corrosion. It wears out so your engine doesn’t. And since they’re made of zinc or aluminum, they’ll naturally degrade over time — especially in saltwater.
Think of it as armor for your engine. Check it at least once a season or every 100 hours.
Quick Guide to Yamaha Lower Unit Service
Changing the gear oil in your Yamaha outboard lower unit? Here’s a simplified rundown:
- Remove the drain screw (lower), then the vent plug (upper)
- Drain completely while tilted down
- Check for metal shavings on the magnetic plug tip
- Pump in fresh Yamaha lower unit gear lube until it flows from the top
- Replace fiber gaskets before sealing both plugs
Warning: have a rag or two nearby — this gets messy fast.
Which Yamaha Propeller Should You Use?
Choosing a Yamaha outboard propeller isn’t guesswork — it’s about fit, performance, and usage. Here’s what to keep in mind:
- Pitch: Higher pitch = more speed, but harder to spin
- Diameter: Larger props = more torque, less RPM
- Blades: 3 for top speed, 4 for quicker starts and better grip
- Material: Aluminum is cheaper; stainless is tougher
If your RPMs are too low or high at full throttle, your prop may be mismatched. Don’t risk long-term wear.
Ready to Fix Your Tilt System?
Every trim and tilt kit we carry is made to Yamaha’s specs, so you’re not stuck filing down parts or wondering if something’s “close enough.” Whether you’re a weekend DIYer or doing full-on seasonal maintenance, our selection can help you get it done right — the first time.
Explore the collection of Yamaha tilt system kits and parts now on YamahaOnlineParts.com.