

Yamaha
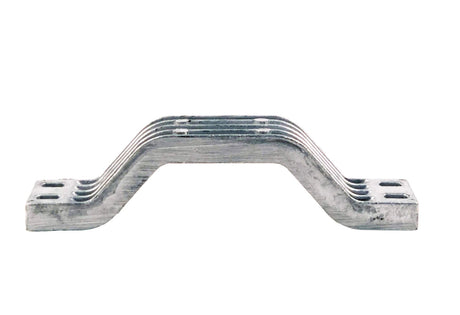
Yamaha 6G5-45251-02-00 - Outboard Bracket Transom Anode
$26.29 USD$29.40 USDUnit price /Unavailable
-
Sold out
-
Yamaha
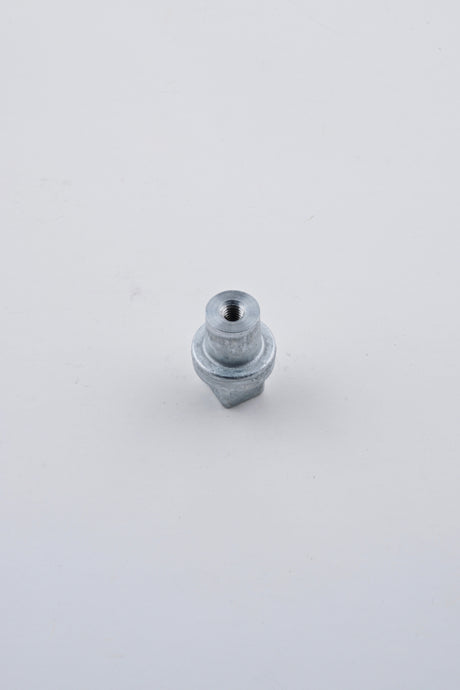
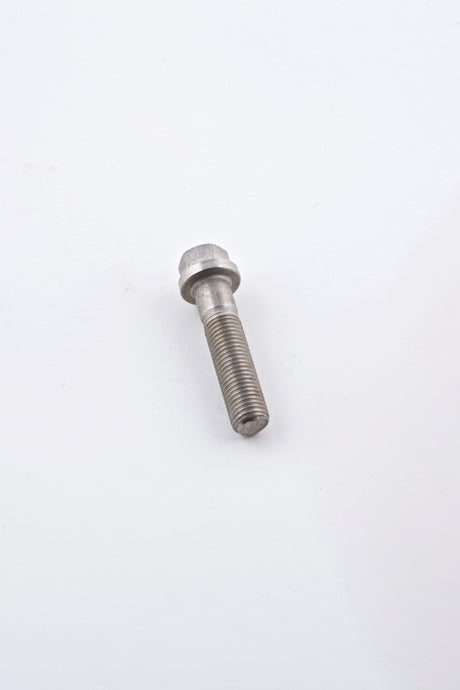
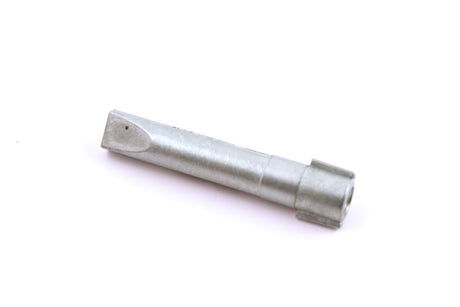
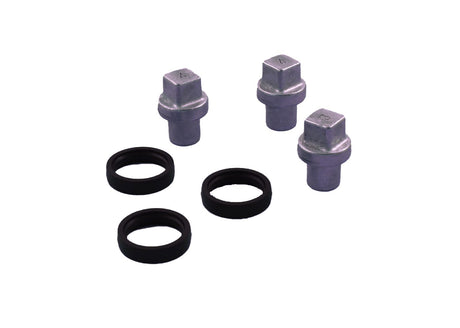
Yamaha 90105-10M00-00 - Trim Tab Anode Washer Bolt - 90105-10M67-00
$4.77 USD$5.20 USDUnit price /Unavailable -


-

Yamaha
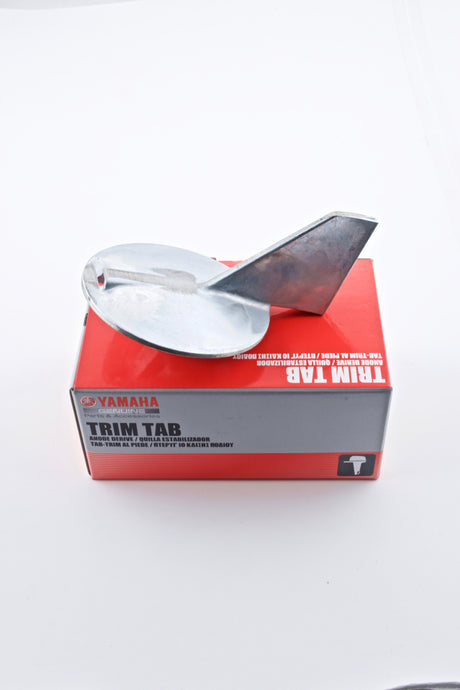
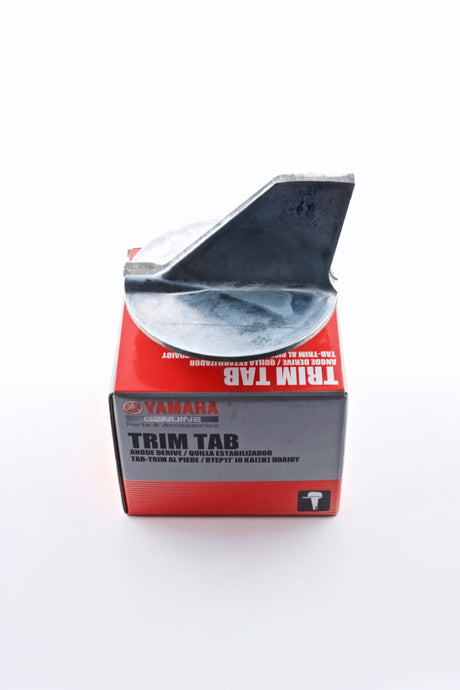
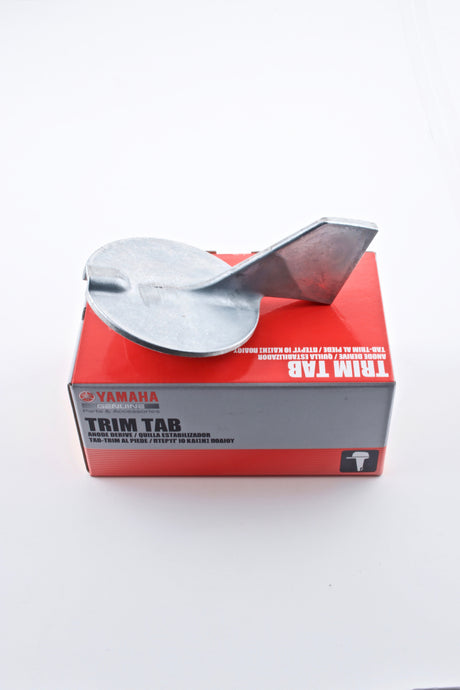
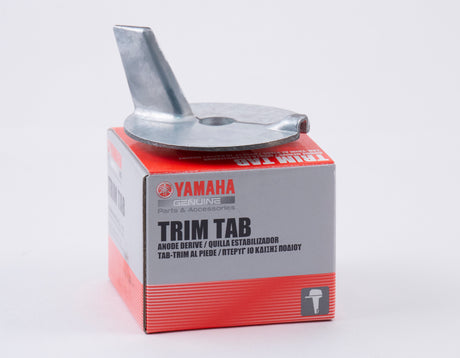
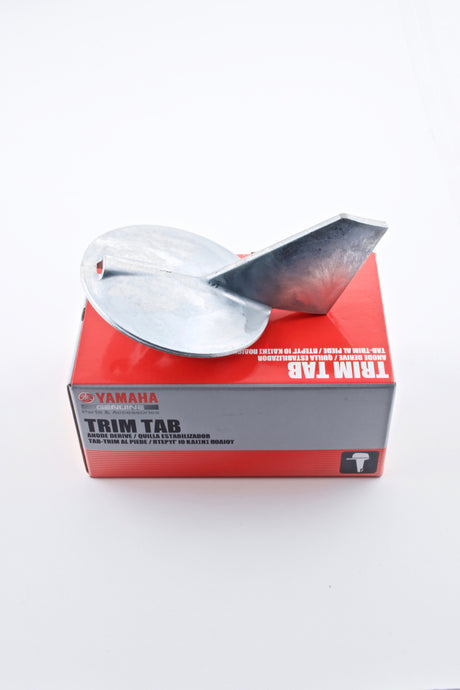
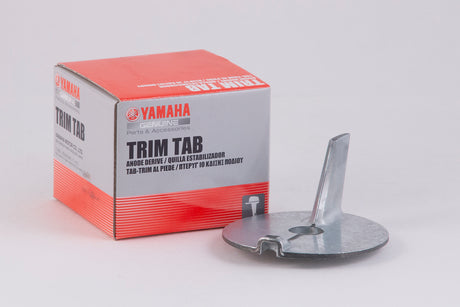
Yamaha 6CE-45373-00-00 - F200 F225 F250 F300 & 225 250 2-Stroke Trim Tab Anode
$37.92 USD$42.35 USDUnit price /Unavailable-
Yamaha
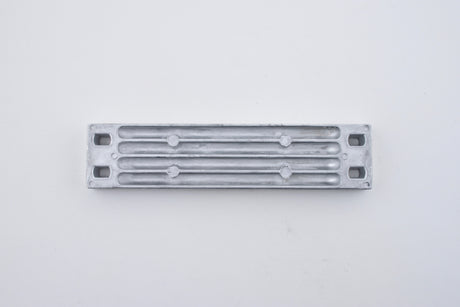
Yamaha 6H1-45251-03-00 - Outboard Transom Bracket Anode - 70 90 HP F75 F80 F90 F100 F115 VF115
$20.87 USD$23.25 USDUnit price /Unavailable -
Yamaha
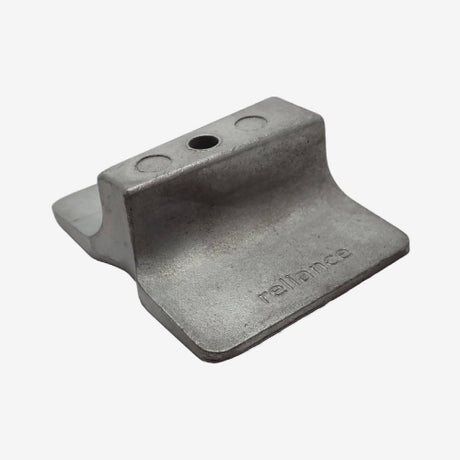
Yamaha 6AW-45251-00-00 - Transom Bracket Anode
$29.25 USD$32.60 USDUnit price /Unavailable -
-
Yamaha
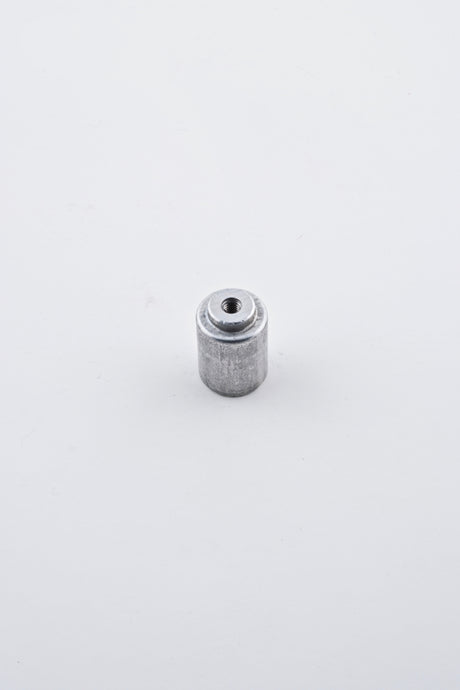
Yamaha 68V-11325-01-00 - F115 F150 F200 F225 F250 F75 F90 Cylinder Crankcase Anode
$24.41 USD$27.10 USDUnit price /Unavailable -
Yamaha
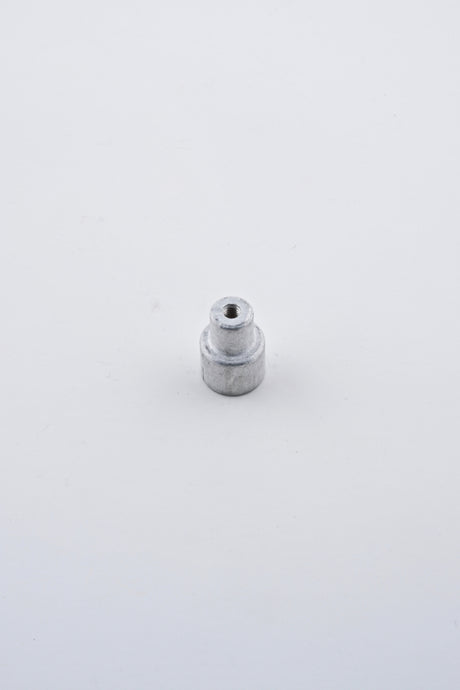
Yamaha 68V-11325-02-00 - F90 F115 F150 F200 F225 F250 Cylinder Crankcase Zinc Anode
$19.93 USD$22.20 USDUnit price /Unavailable -
Yamaha
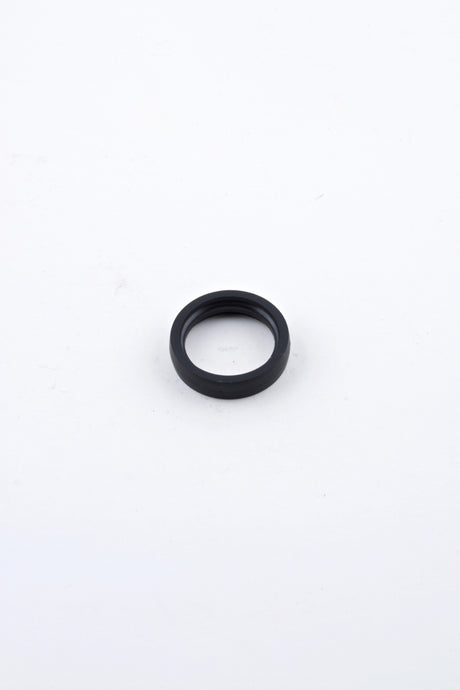
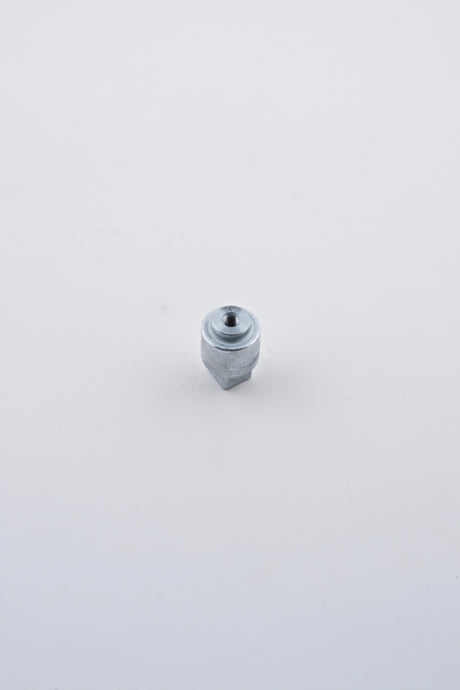
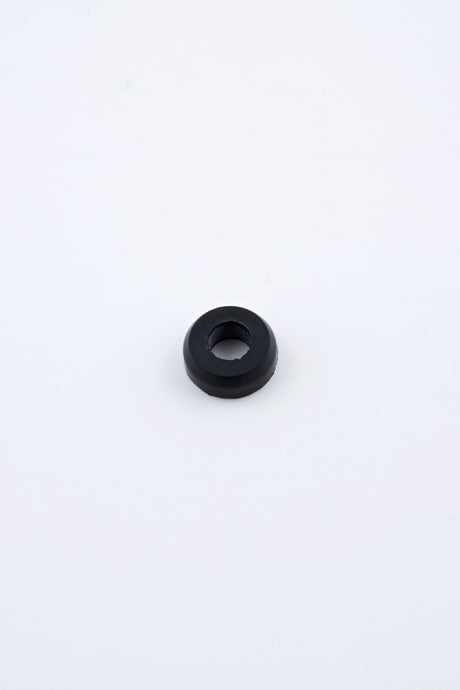
Yamaha 67F-11328-00-00 - Cylinder Head Anode Grommet
$3.39 USD$3.80 USDUnit price /Unavailable 
-
Yamaha
Yamaha 62Y-11325-00-00 - F25 F30 F40 F50 F60 F70 Anode
$10.26 USD$11.40 USDUnit price /Unavailable -
Yamaha
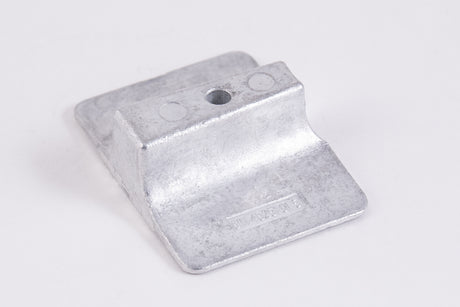
Yamaha 67F-11325-00-00 - F100 F115 F200 F225 F80 F90 Cylinder Crankcase Anode
$16.47 USD$18.25 USDUnit price /Unavailable 
-
Yamaha
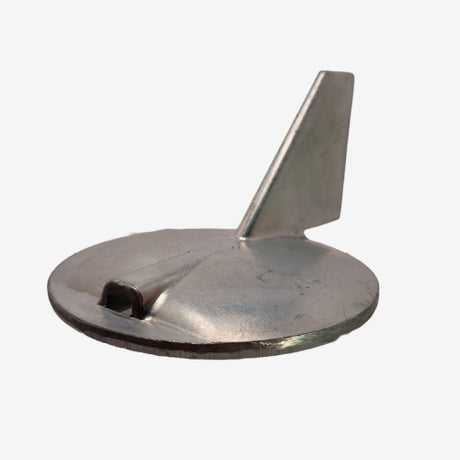
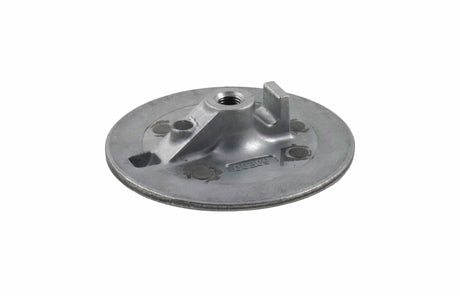
Yamaha 6K1-45371-02-00 - Counter Rotation Trim Tab Anode
$50.70 USD$56.60 USDUnit price /Unavailable -
-

Yamaha
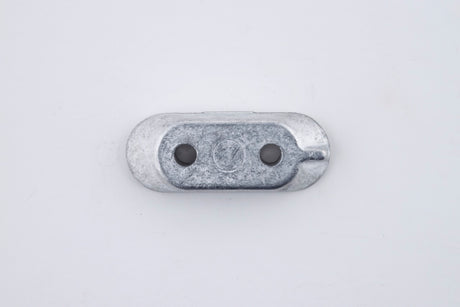
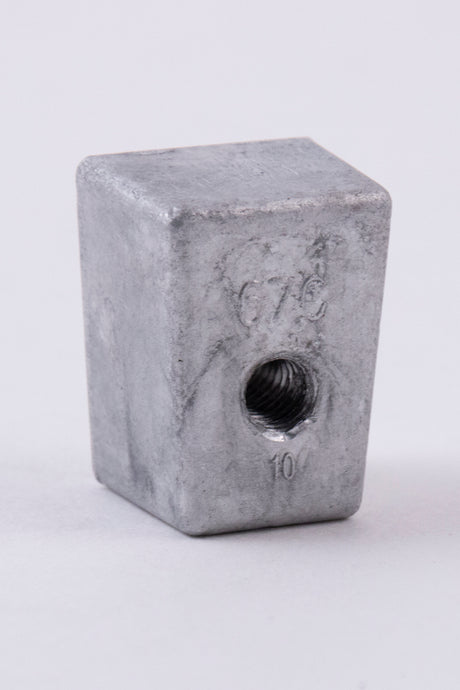
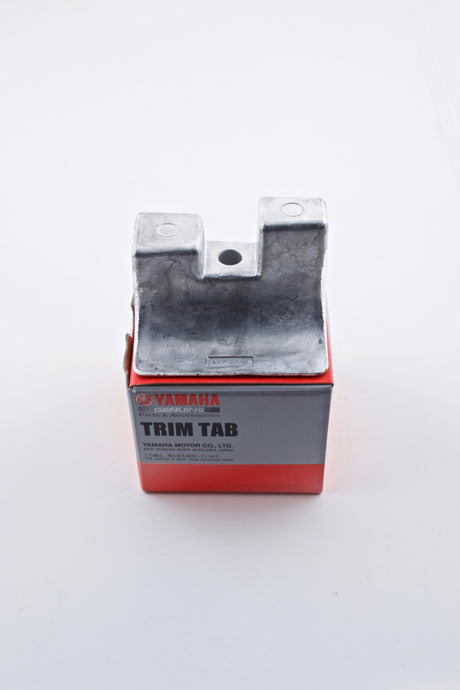
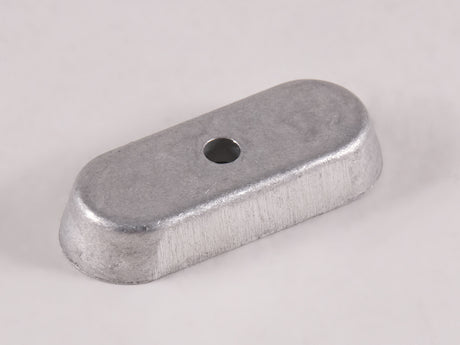
Yamaha 67C-45251-00-00 - Trim Tab Square Anode
$14.88 USD$16.65 USDUnit price /Unavailable-
-
Yamaha
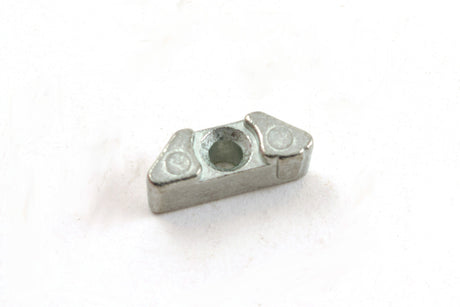
Yamaha 68T-11325-00-00 - F150 F175 F200 F225 F250 F300 Anode
$10.33 USD$11.50 USDUnit price /Unavailable -
-

Yamaha
Yamaha Internal Crankcase Anode Kit With Grommets - F150 - 2009-Current
$59.13 USDUnit price /Unavailable-
-
-
Yamaha
Yamaha 69J-11301-10-00 - F115 F150 F200 F225 F250 F75 F90 Anode Cover Assembly
$17.46 USD$17.99 USDUnit price /Unavailable 
-
-
-


Yamaha External and Internal Anodes
It is essential to look after both the internal and external Yamaha anodes of your boat in order to make sure that your Yamaha outboard engine is in good condition for a long time. YamahaOnlineParts.com stocks a wide selection of Yamaha anodes and anode kits that fit various Yamaha outboard engine models.
In addition to our complete range of Yamaha OEM parts accessories, we offer the following:
Yamaha Outboard External and Internal Anodes FAQs
What does an outboard anode do?
An outboard anode is a sacrificial metal part that helps protect the engine from galvanic corrosion. Instead of allowing corrosion to attack expensive Yamaha outboard components, the anode corrodes first and should be inspected regularly.
When should Yamaha zinc anodes be replaced?
Yamaha outboard anodes should usually be replaced when they are about 50% worn, heavily pitted, loose, painted over, or no longer making clean metal contact. Saltwater, brackish water, freshwater, dock wiring, and boat storage conditions can all affect how quickly anodes wear.
Zinc, aluminum, and magnesium anodes are used for different water conditions, so choose the anode material recommended for your Yamaha model and boating environment. Never paint an anode, because it must stay exposed to work properly.
How do I install a trim tab anode on my Yamaha outboard motor?
The process of replacing the sacrificial anodes on Yamaha trim tabs, sometimes known as "zincs," is a straightforward task that can be done in just a few minutes.
It is necessary to comprehend the purpose of a trim tab anode for Yamaha outboards before we can study how to install them. Knowing how an anode is set up and placed will speed up the installation and make it simpler, especially if we ever have to identify and repair any issues with the Yamaha outboard motor in the future.
Having grasped the rationale behind the requirement of Yamaha trim tab anodes for boats and outboard motors, let us now look into the procedure to fit trim tab anodes on Yamaha outboard engines.
- Start by determining the position of the trim tab anode on your Yamaha outboard. This usually can be found situated above the propeller on the anti-cavitation plate.
- After that, find and take out the trim tab plug that is situated directly over the trim tab.
- You'll need to put a socket wrench with a lengthened connector inside the gap in order to reach the screw holding the trim tab in place. Most Yamaha trim tabs are designed to be used with a ½” socket wrench.
- Record the number of degrees that the trim tab is set to by noting the hash marks. If it is difficult to remember the setting, you can put a piece of masking tape to mark the spot so you won't need to modify it once it is installed.
- Slowly turn the bolt counterclockwise to loosen the trim tab until it loosens.
- Put in the fresh trim tab anode. Taking it out is the reverse of putting it in.
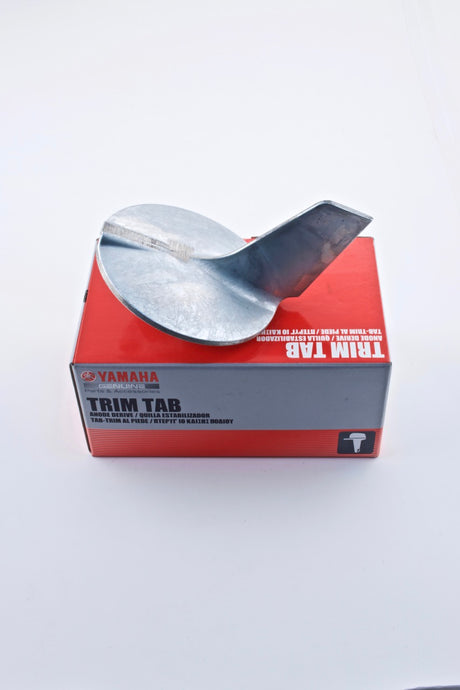
What does a Yamaha trim tab anode do?
Trim tabs are a necessity to ensure that your boat can be steered properly and accurately. When they are accurately adjusted, the trim tab anodes work against the torque created by the propeller, which helps to counter the prop walk, a phenomenon in which the propeller spins around a vertical axis. This helps to create a more steady and balanced ride, counteracting any unwanted torque. Trim tabs are usually adjusted at an angle to facilitate this - in the case of outboard motors, the right side should be aligned for right-turning and the left side should be aligned for left-turning. The majority of Yamaha outboards have a set of hash marks next to the trim tab, which indicates the precise angle for accurate steering.
Counteracts Corrosion
There are three types of corrosion boaters typically experience:
- Simple electrochemical corrosion
- Galvanic corrosion
- Electrolytic/stray current corrosion
Trim tab anodes act as a shield for more pricey and difficult-to-repair parts by taking on more corrosion than other engine components.
Yamaha external anodes, which are generally made of inexpensive zinc, will weaken and need to be replaced after a period of time. As the anode deteriorates, its capacity to guide the engine and safeguard it against rust decreases. Scrubbing it with a wire brush can fix minor destruction, however, when it corrodes and reduces to half of its initial size, then it has to be replaced. This is why it is referred to as a sacrificial anode—it sacrifices itself to safeguard the engine and its parts.
As part of the yearly or 100-hour maintenance, it is essential to inspect the trim tab anode(s) and any other anodes present.
What is the Best Anode for Freshwater?
Magnesium is the most suitable anode for freshwater although aluminum and zinc are more cost-effective materials and can serve as a general option. Magnesium helps to prevent the reversal of electricity at higher temperatures which is a common occurrence in freshwaters. Other materials than magnesium could lead to corrosion and electrochemical reactions especially when boaters are hooked up to land power in marinas.
Consequently, if you intend to use your boat in freshwater after having been in saltwater, it would be sensible to exchange the Yamaha outboard anodes with magnesium anodes.
How can I best maintain the health of my Yamaha Outboard lower unit?
To make sure your Yamaha outboard motor keeps running smoothly and lasts longer, it's important to swap out the gear lube regularly. Having the right supplies (like Yamalube gear lube) close at hand will make this crucial maintenance job a breeze.
Here are five great advantages of using a Yamaha marine gear lube kit to keep your Yamaha outboard motor in prime condition in the long run.
- Your Yamaha outboard motor will start facing deterioration from the moment it is launched into the water, especially if it is utilized a lot, is left to corrode and isn't properly stored or kept up.
- If you have a Yamaha outboard, you can save a lot of money and time by doing the repairs yourself. It won't take long; in just a few hours you could change the oil, replace common parts and lubricate the engine. Doing it yourself is a lot cheaper than having a marine mechanic do it for you.
- To keep your Yamaha outboard motor in good shape, you need to use the proper lubrication. Yamahaonlineparts.com sells Yamaha marine gear lube kits, so you can rest assured that your engine has the highest quality oil.
- To ensure your Yamaha outboard motor runs smoothly and prevent any unexpected issues, regular maintenance is key. For brand-new motors, you should service them after 20 hours of use and then every 100 hours afterward.
- Yamahaonlineparts.com's Yamaha marine gear lube kits make it easy for you to complete gear lube changes and make sure you're not making the wrong purchase or settling for low quality. Every kit has Yamalube gear lube, a Yamaha gear lube pump, and the perfect Yamaha outboard lower unit drain gaskets for the job.
Does Your Yamaha Outboard Head Gasket Need to be Repaired?
The Yamaha outboard motor head gasket plays a significant role in the motor's functioning and longevity. It is situated between the cylinder head (the place where spark plugs are fitted) and the cylinder block and is responsible for binding the two pieces together securely to deal with the engine's pressure and enable water to travel between the block and the head.
As with other components that are located external to an engine, the parts of a head gasket will wear out due to prolonged use and the passing of time. If the gasket is often exposed to high temperatures, salt water, as well as other substances, its strength will gradually deteriorate.
If a head gasket is not changed when it begins to malfunction, it will allow water to enter the motor. This can have a major negative impact on the engine's performance and could ultimately result in severe harm to the engine.
Even if there are no outward indications that the head gasket is broken, replacing it will give you assurance. Additionally, while the head gasket is being switched out, you can examine and renew other components such as Yamaha anodes, clean out the engine bores, get rid of any sand/salt buildup, and change the spark plugs.
What types of corrosion can affect my Yamaha outboard motor?
No matter what type of water it is -fresh, brackish or salt - metals, when exposed to it, will unavoidably be subject to marine corrosion. Right from the time of their construction, a majority of metals try to go back to the natural state they were in before we extracted them from the earth.
The three types of corrosion boaters typically work to manage are:
- Simple electrochemical corrosion
- Galvanic corrosion
- Electrolytic/stray current corrosion
The corrosion of metal in a marine environment is a result of an electrochemical reaction, but the rate of corrosion may vary depending on the circumstances. When multiple metals are present, the process of corrosion speeds up (galvanic corrosion), and if electricity is added to the mix, then the deterioration will happen even faster (stray current corrosion). Although the end result of any of these types of corrosion is essentially the same, that is, exposed metal damage, there can be a number of causes for the corrosion in the first place. The difficulty lies in determining the type of corrosion and its root cause, so that more corrosion can be prevented in the future.
Maintaining your Yamaha outboard motor's external and internal anodes is critical for keeping your engine corrosion-free. You'll need to replace your anodes once they have worn down to about half of their original size. Shop Yamaha Online Parts' complete selection of Yamaha external and internal anodes to find the ones to suit your Yamaha outboard engine.