
Yamaha
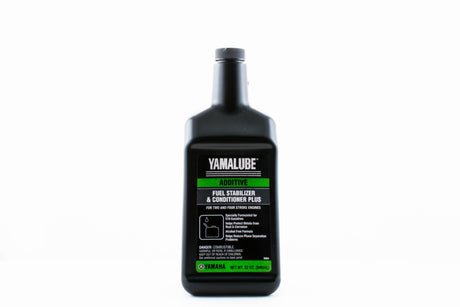
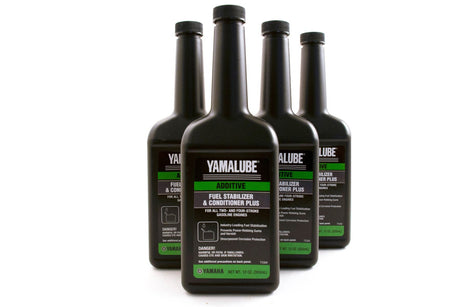
Yamaha ACC-FSTAB-PL-32 - Yamalube Fuel Stabilizer and Conditioner Plus - 32 oz. Bottle
$12.85 USD$13.75 USDUnit price /Unavailable-
Yamaha
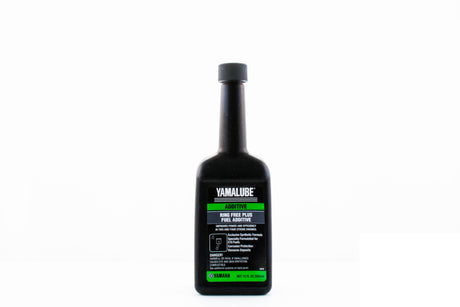
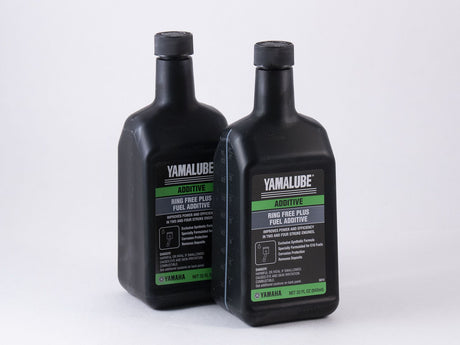
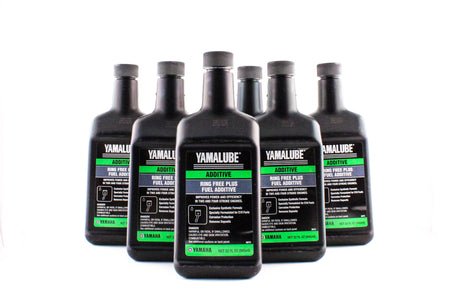
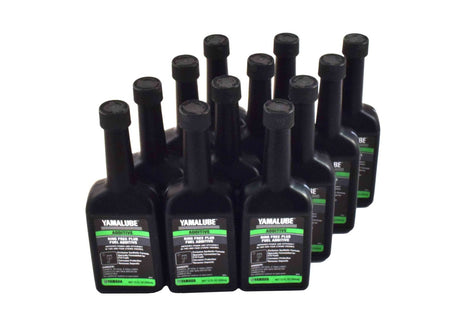
Yamaha ACC-RNGFR-PL-12 - Yamalube Outboard Ring Free Plus Fuel Additive - 12 oz
$25.41 USD$27.30 USDUnit price /Unavailable -
Yamaha
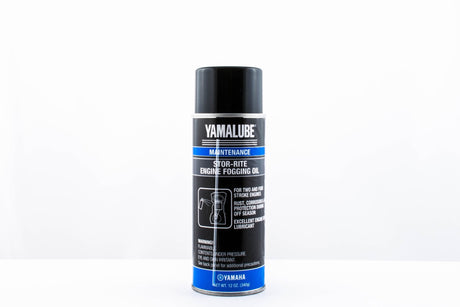
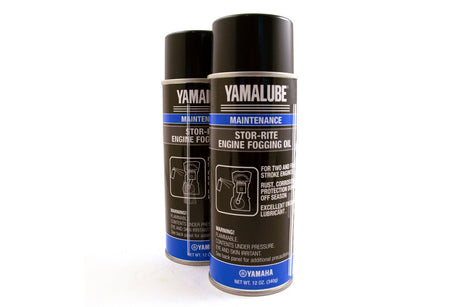
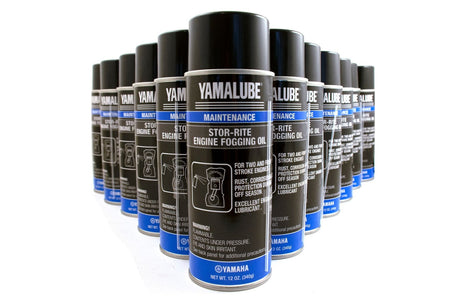
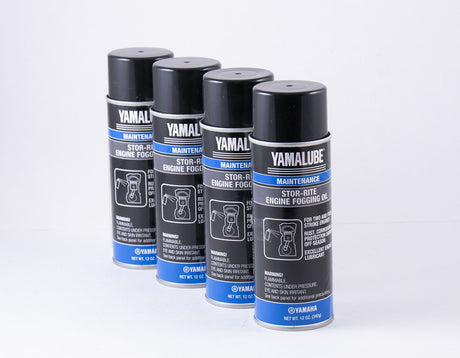
Yamaha ACC-STORE-RI-TE - Yamalube Stor-Rite Engine Fogging Oil - 12 oz.
$9.85 USD$9.99 USDUnit price /Unavailable -
Yamaha
Yamaha ACC-RNGFR-PL-32 - Yamalube Outboard Ring Free Plus Fuel Additive - 32 oz
$65.24 USD$70.35 USDUnit price /Unavailable 
Yamaha
Yamaha ACC-FSTAB-PL-12 - Yamalube Fuel Stabilizer and Conditioner Plus - 12 oz. Bottle
$6.35 USD$6.85 USDUnit price /Unavailable
Yamaha
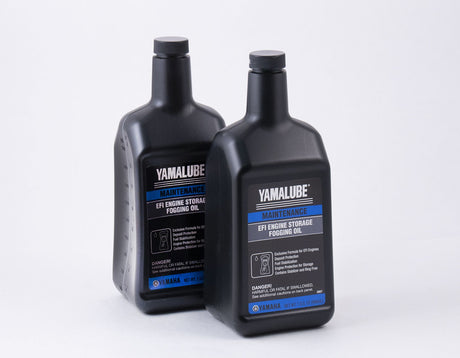
Yamaha ACC-STORR-IT-32 - Yamalube EFI Engine Storage Fogging Oil - 32 OZ.
$10.76 USD$11.60 USDUnit price /Unavailable-
Yamaha
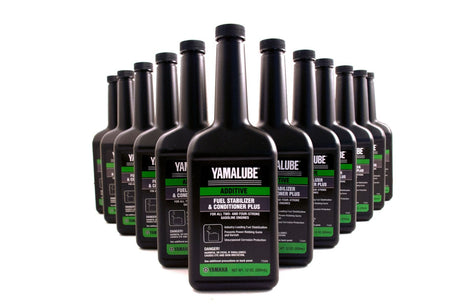
Yamaha ACC-FSTAB-PL-32 - Fuel Stabilizer and Conditioner Plus - 32 oz. Bottles - Case of 6
$77.10 USDUnit price /Unavailable -
Yamaha
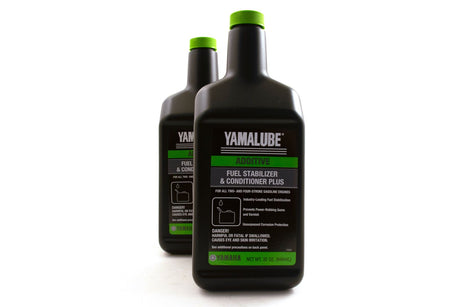
Yamaha ACC-FSTAB-PL-32 - Yamalube Fuel Stabilizer and Conditioner Plus - 32 oz. Bottle - 2-Pack
$25.70 USDUnit price /Unavailable 
Yamaha
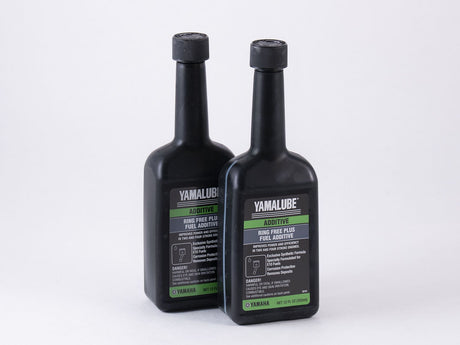
Yamaha ACC-RNGFR-PL-12 - Yamalube Outboard Ring Free Plus Fuel Additive - 12 oz - 2-Pack
$50.82 USDUnit price /Unavailable-
Yamaha
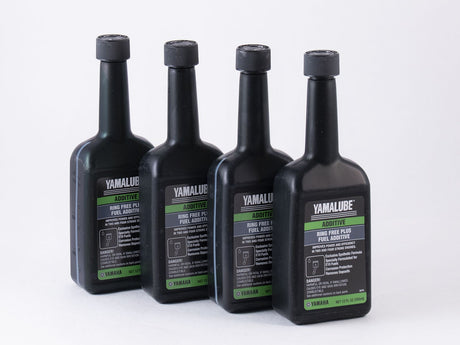
Yamaha ACC-RNGFR-PL-12 - Yamalube Outboard Ring Free Plus Fuel Additive - 12 oz - 4-Pack
$101.64 USDUnit price /Unavailable -
Yamaha
Yamaha ACC-FSTAB-PL-12 - Fuel Stabilizer and Conditioner Plus - 12 oz. Bottle- 12-Pack
$76.20 USDUnit price /Unavailable -
Yamaha
Yamaha ACC-STORE-RI-TE - Yamalube Stor-Rite Engine Fogging Oil - 12 oz. - 2-Pack
$19.70 USDUnit price /Unavailable -
Yamaha
Yamaha ACC-RNGFR-PL-32 - Yamalube Outboard Ring Free Plus Fuel Additive - 32 oz. - 2-Pack
$130.48 USDUnit price /Unavailable -
Yamaha
Yamaha ACC-FSTAB-PL-12 - Fuel Stabilizer and Conditioner Plus - 12 oz. Bottle - 4-Pack
$25.40 USDUnit price /Unavailable -
Yamaha
Yamaha ACC-RNGFR-PL-32 - Yamalube Outboard Ring Free Plus Fuel Additive - 32 oz - Case of 6
$391.44 USDUnit price /Unavailable 
Yamaha
Yamaha ACC-RNGFR-PL-12 - Yamalube Outboard Ring Free Plus Fuel Additive - 12 oz - 12-Pack
$304.92 USDUnit price /Unavailable-
Yamaha
Yamaha ACC-STORR-IT-32- Yamalube EFI Engine Storage Fogging Oil - 32 oz. - 2-Pack
$21.52 USDUnit price /Unavailable -
Yamaha
Yamaha ACC-STORE-RI-TE - Stor-Rite Engine Fogging Oil 12oz - 12-Pack
$118.20 USDUnit price /Unavailable -
Yamaha
Yamaha ACC-STORE-RI-TE - Yamalube Stor-Rite Engine Fogging Oil - 12 oz. - 4-Pack
$39.40 USDUnit price /Unavailable
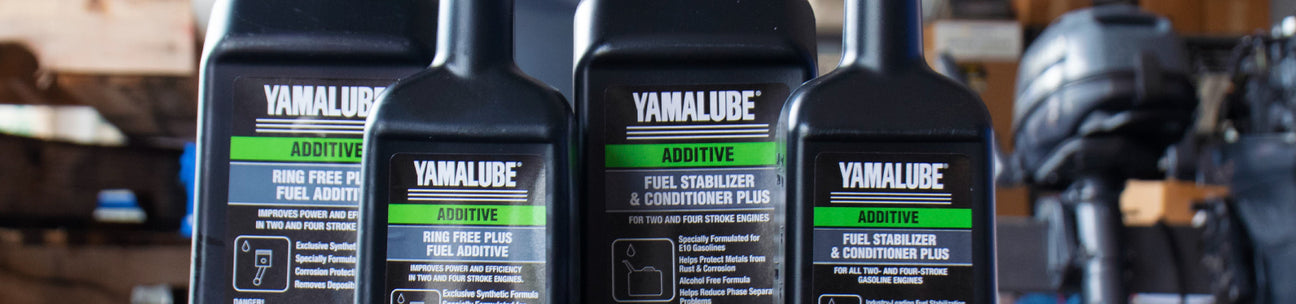
Yamalube Fogging Oils & Fuel Additives
Quick Summary:
Fogging your Yamaha outboard? Here’s the gist: run the engine, spray Yamalube fogging oil into the intakes to coat the internal parts, then shut it down. It’s your best line of defense against corrosion during winter storage. Pair it with Yamaha fuel stabilizer to keep ethanol-blended gas from turning your fuel system into a mess. Your future self will thank you come spring.
Ever asked yourself, “How do I fog an outboard motor?” or “What’s the point of fogging the engine anyway?” You're not alone. Fogging is one of those odd-sounding terms that actually means serious protection—coating the inside of your engine with a thin film of oil that shields it from rust, moisture, and time itself. It’s especially important when your boat’s going to sit for a while.
Yamalube fuel additives
Yamalube fuel additives are designed to help protect marine fuel systems from ethanol-related moisture, corrosion, varnish, gum, and carbon deposits. Common fuel-care products include stabilizers for storage and cleaners that help maintain injectors, combustion chambers, and fuel system performance.
Choose the Yamalube fuel additive that matches your goal: daily fuel treatment, seasonal storage, deposit control, or fuel system cleaning. Follow the product label for dosage and confirm compatibility with your Yamaha 2-stroke or 4-stroke engine.
What does fogging an outboard motor do?
In plain terms, fogging your Yamaha outboard is like tucking it into bed with a thermal blanket. A coat of fogging oil clings to the engine’s moving parts, blocking moisture and preventing corrosion from creeping in while it's idle. Without it, especially during cold, damp months, you risk waking up your engine to a mess of stuck rings, pitted cylinders, and rusty frustration. If you're planning on more than a month of downtime, fog the motor. Every time.
Yamaha’s fogging oils and fuel additives are tailor-made for marine engines. They’re not just about protection—they help improve fuel burn, reduce buildup, and keep your outboard running smoothly when you’re out chasing sun again. Whether you’re looking to stabilize gas or fog an outboard for winter, YamahaOnlineParts.com has you covered with the exact formulas your engine expects.
These products are essential when fogging the engine before storage—whether it’s a few weeks or a full off-season. And they’re not some generic fix either. Yamaha’s OEM-approved solutions are trusted by techs, weekend warriors, and full-time captains alike to get through winter without a hitch.
We’ve all had that spring day: gear packed, boat hitched, everyone ready… only for the engine to wheeze and sputter because someone skipped fogging it back in the fall. It’s a hard lesson. But thankfully, it’s one you only need to learn once.
YamahaOnlineParts.com carries a wide selection of fogging oils and fuel additives, including value-packed bundles that save you cash when you stock up. You’ll find everything from Stor-Rite fogging oil to Fuel Stabilizer and Conditioner Plus, all designed for Yamaha outboards.
How do I fog an outboard motor for winter?
Here’s a simplified version of the fogging process:
- Grab your gear: fogging oil, motor flusher, crescent wrench, new spark plugs.
- Hook up the garden hose to the flusher and get water running through the engine.
- Remove the air cover to access the intake or carburetors.
- While the motor’s idling, spray Yamalube fogging oil into the intake until it stalls.
- Pull the spark plugs, spray a bit more fogging oil directly into the cylinders.
- Turn the flywheel manually to coat internal walls, then install fresh plugs.
Done right, your engine will be rust-free and ready to roar when you are. Need the deep-dive? Check out Winterizing Yamaha Outboard Motors – Here's How.
What happens if I don’t fog my Yamaha motor?
Skipping this step may seem harmless, but long-term storage without fogging is risky business. Moisture builds up inside the engine, causing rust on cylinder walls and corrosion on pistons. Ethanol in untreated gas can worsen the problem. That grinding noise in spring? Could be corrosion locking things up. Fogging oil prevents all that.
How do I stabilize the fuel system of my Yamaha outboard motor?
Stabilizing your fuel is just as important as fogging the engine. If your boat’s sitting for more than 60 days, treat the gas with Yamaha Fuel Stabilizer and Conditioner Plus. Use 1 oz per gallon, let the engine run 10–15 minutes to circulate the treated fuel. This helps prevent gum, varnish, and fuel line clogs caused by ethanol separation.
Still not sure? Read up on Yamaha Ring Free Plus – Is It Essential? for more insight on treating your outboard fuel system.
Why is my Yamaha outboard fuel system important?
Think of your fuel system like the veins of your engine. If something’s blocked, cracked, or leaking, it won’t deliver what’s needed. Check for damage around the fuel pump, filters, and hoses. Replace anything brittle or broken. And always inspect for water in the gas—it’s a quiet killer, especially with ethanol blends that pull moisture from the air.
How do I perform a Yamaha outboard season breakout?
- Add Yamaha Ring Free Plus and fresh gas to your tank.
- Inspect hoses for wear or leaks—replace if soft or cracked.
- Clean and reconnect your battery, using Yamaha Battery Terminal Cleaner to eliminate corrosion.
- Remove your propeller, apply marine grease, and inspect the lower unit seals.
- Top off or replace Yamaha gear lube as needed.
- Turn the wheel—feel any binding? Lube your steering cables.
- Check for leaks in hydraulic and trim systems, refill fluid if low.
- Finally, run the motor with a flusher to burn off fogging oil and ensure everything’s operating smoothly before hitting the water.
If you need visuals or a checklist, visit our Yamaha outboard schematics page or explore our OEM parts and accessories. You’ll also find additional help in our Guide to Yamaha Outboard Fuel Filters.
Whether you’re a first-timer or a seasoned boater, fogging and stabilizing your Yamaha outboard is one of the smartest moves you can make. Take care of your motor now—and it’ll take care of you when the water’s calling again.